Need a knowledge base like this for your business?
Quick Setup - How To Setup Your Brand And Color Scheme
By Kim Dixon, MyPhotoApp Training Guru
Created: December 5, 2015, 8:08 pm UTC Last updated: February 9, 2019, 10:10 pm UTC
The Quick Setup Menu
The Quick Setup menu makes it easy to customize your MyPhotoApp Brand to match your business branding in just a few simple steps. It is also where you add all the key contact information you will need when creating Apps. The NEW Smart Contact and Follow Button sections will automatically use the contact and social media ID's you enter in the Brand Quick Setup.
By default, MyPhotoApp sets up your main brand using the company name you entered when you signed up, so all you need to do is add your business information by completing the Quick Setup steps.
If you created your first App using the Wizard you may have already set some of the basic information such as adding your logo and contact telephonenumber and email address. To add the rest of your information, choose one of the apps you have already created and click the Quick Setup Button at the top of the Layout column.
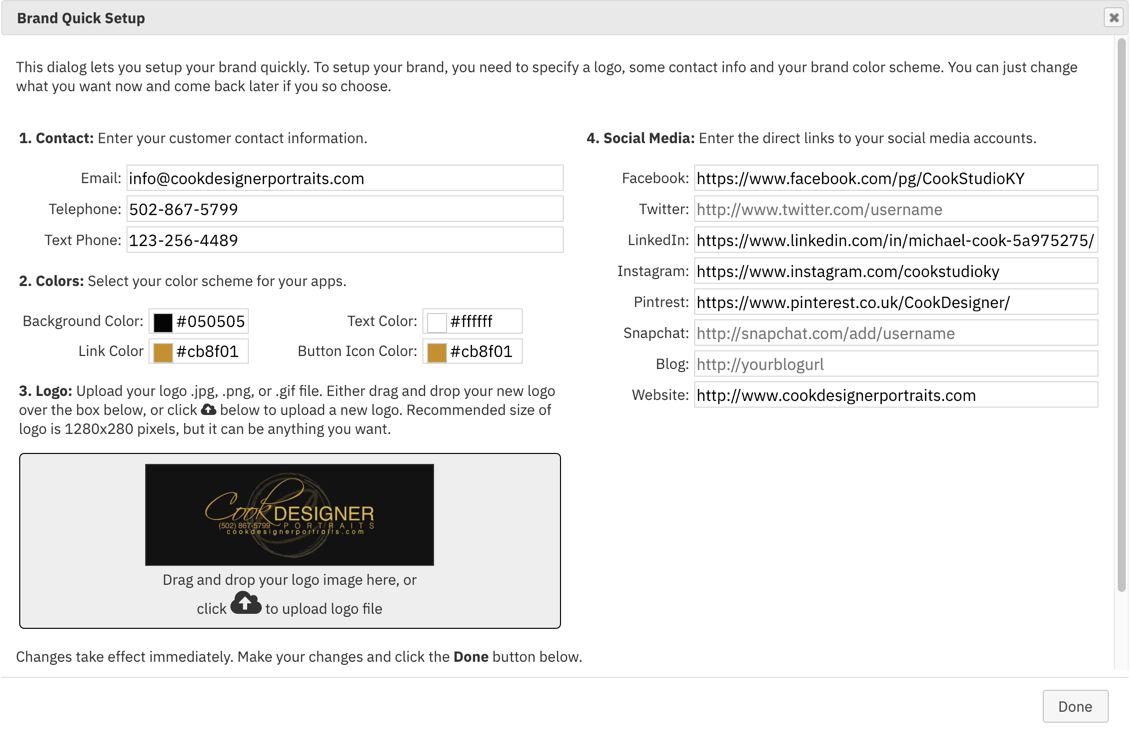
The Brand Quick Setup menu lets you can add the following information:-
Contact information
BrandColors
Logo
Social Media Account IDs
These will then be saved for future use and every time you create a new App in this Brand this information will automatically be applied for you. Here is an example of the quickset up Menu with some information entered:
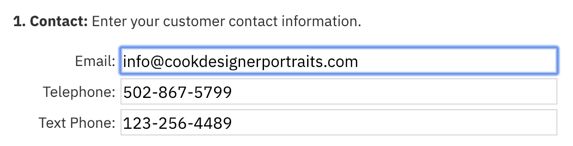
1. Add Your Contact Details
Next, we need to specify your contact information. The default App template provides two contact buttons, one to contact you via email and the other to contact you by phone. So we need to enter this information, type your email address and your telephone number in the relevant fields so it should look like this.
Tip: It's easy to add additional buttons to your app for other means of contact, for example, a button so people can text a message to you or landline and mobile phone buttons. Check out the knowledge base on how toadd various types of buttons when you are ready to do so.
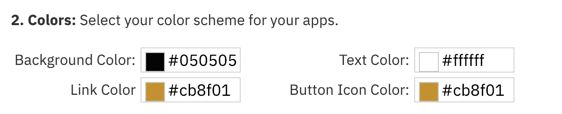
2. Setup Your Brand Color Scheme
The last item to setup is your brand color scheme. There are two ways to do this
Type in the color code number if you know what it is or
Select a color from the color picker.
The most reliable method is to use color codes as it will ensure the color scheme used in your Apps is identical to your color scheme on your webpage, business cards, and other marketing resources. If you don't have the color code numbers or a defined color scheme other than your logo you can select a color from the color picker. Once you have selected a color, the color number will be displayed, and you can make a note of this for future reference.
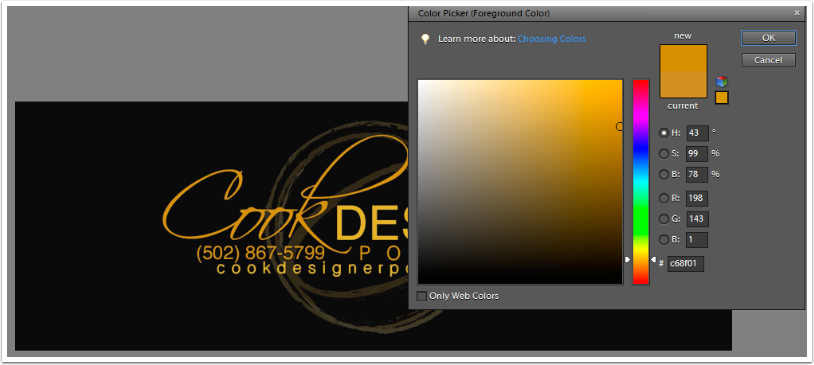
Tip: If you haven't got a complete color scheme for your Brand other than your logo open this in a photo editing program, like Photoshop, and click on one of the colors with the eyedropper tool to select it. This will then provide the color code number. Repeat this step for each color in your logo and make a note of the color code numbers for future use.
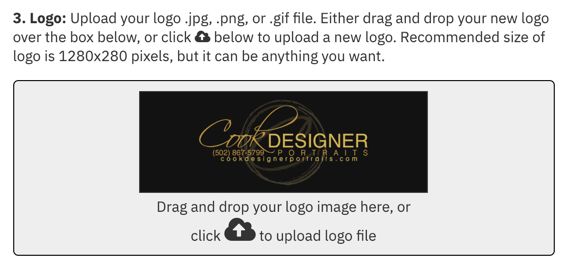
3. Adding Your Business Logo
The first thing to do, if you didn't do it in the wizard, is add your logo or the header image you wish to use. The logo file must be in jpeg format and the minimum recommended size for a logo file is 1024 x 280 pixels, this is the size of the default MyPhotoApp logo currently shown in your App. This is just a suggestion and your logo can be any size you want but, remember your App is designed to be displayed on mobile devices and your logo should not be so tall that it takes up the majority of the screen or too small to be noticed.
You can either drag and drop your logo file onto the file upload box, or click on the box and browse to where the logo file is on your computer and select it. In this example, I've selected Jim's Photography business logo - Cook Designer Portraits - which is 900 x 313 pixels.
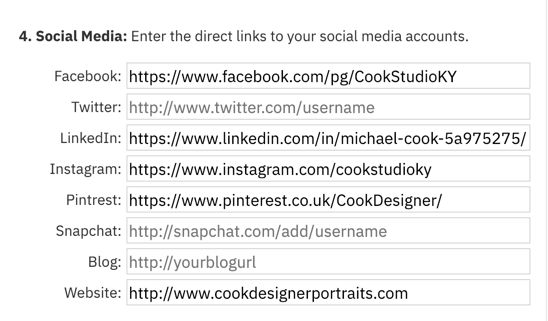
4. Social Media Account IDs You can now add your Social media ID's this means thatwhen you add a follow Button section it will display the button for which you have entered the necessary information and hide those where no information has been added.
If you do not add any social media IDs none of the follow buttons will appear in the visual design until you do so.
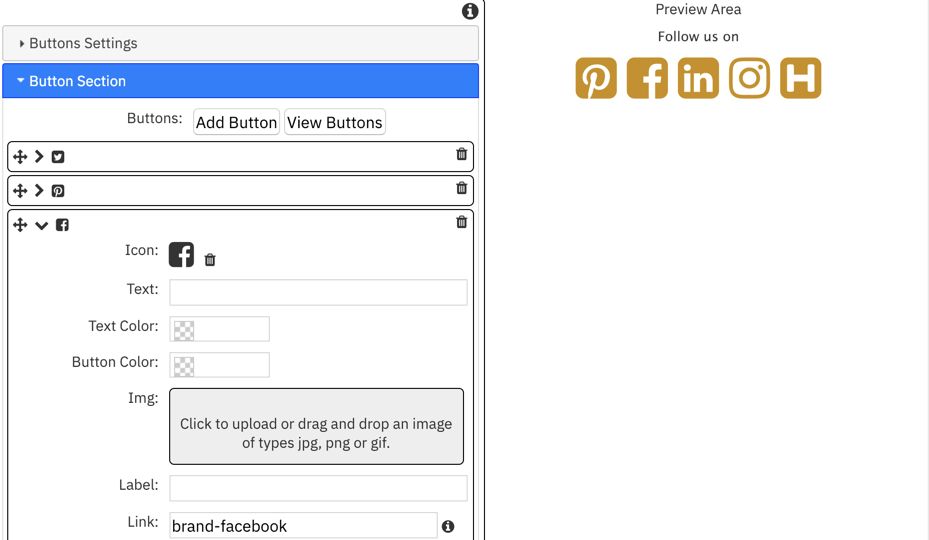
You can add extra buttons or delete individual buttons in apps if you do not want to have that particular social media account in a particular app. To add a custom button, for example when building a third party app, click on the follow button settingscog and add a new button or update the syntax for an individual button. Examples of the syntax you can use can by found by clicking the 'i' next to the button link field to open the relevant Knowledge Base article. You can also change the Button icon, choose to have a text button or upload a custom image and customize other settings here.
Once you have finished adding information in the brand Quick Setup click Done to apply the changes, clicking the close X instead will cancel the changes you made.
Check Out Your Branding
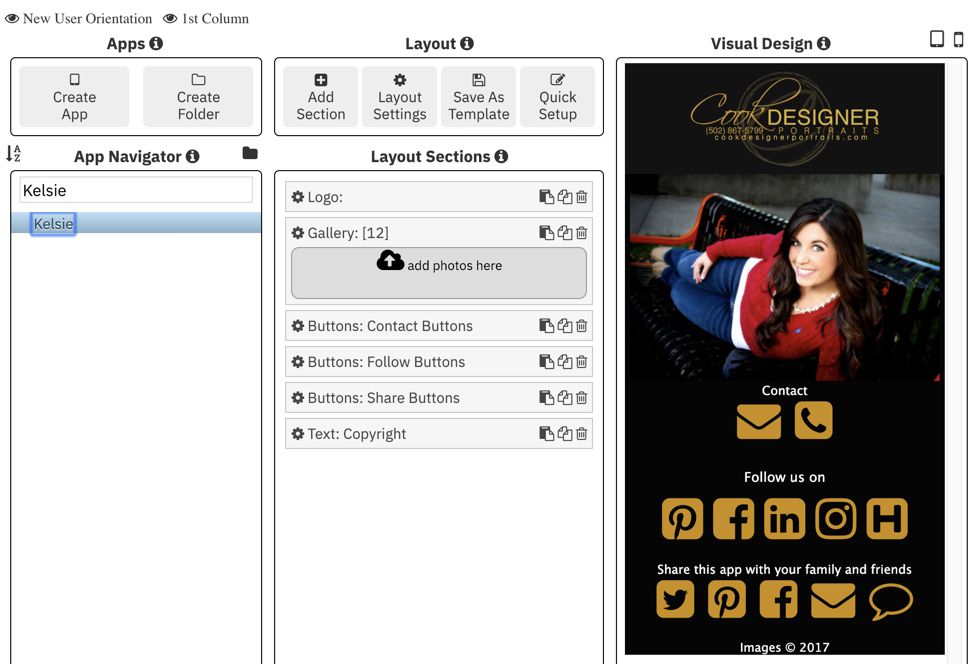
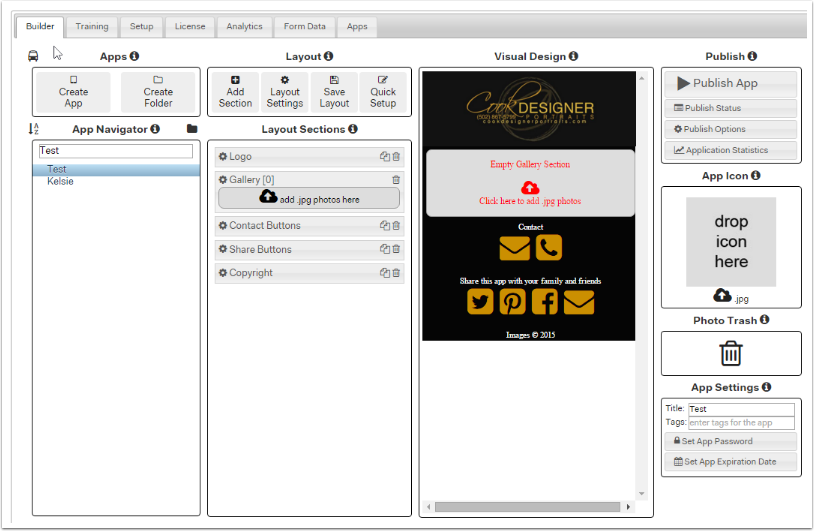
When you click Done the changes you made will automatically be applied to the selected App you are working on which in this example is the Kelsie App I created in the first step by step guide How To Get Started With MyPhotoApp. Once you have entered all your brand information in the quick setup click Done to see your updated App in the visual design area, it should now reflect your business branding like this. Awesome! You can update your brand information at any time by clicking on the Quick setup button but changes will ONLY apply to the App you are currently working on and future Apps.
However if a custom logo has already been uploaded in the selected App via the logo settings the logo will not be changed as the builder will assume you wish to use the custom logo instead e.g. for another business perhaps or special niche event. To update a custom logo simply click on the logo section settings cog and upload the new logo. Tip: Remember the changes you make in the builder are not available to your clients until you press the Publish button and update the published version of the App. When you republish an App any installed versions of that App will be automatically updated when they are opened and an internet connection is available.
Update Your App
OK so let's publish your App and take a look at the changes. It should look fantastic now it has the customized business branding on it. Click on the contact buttons to check out the features. Great you've now finished your first App and published the changes.
From now on your brand information will be applied to all new Apps you create. But any subsequent change you make to your brand information will not be applied to Apps that you have already created. To apply new information to existing Apps, you will need to manually add it. You can do this by selecting the App clicking on Quick setup and then done.
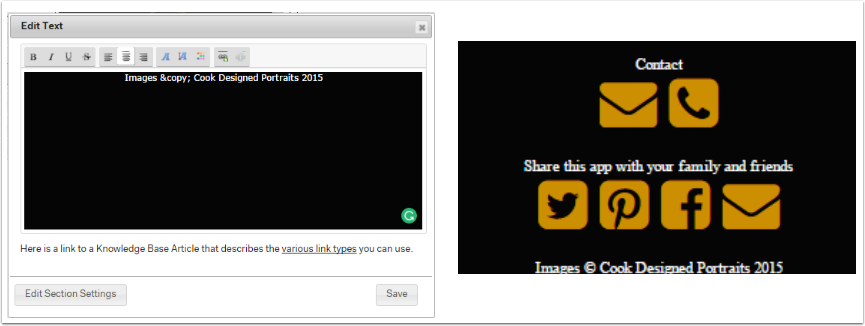
Customize Copyright Information
OK so now you have setup your basic branding information you just need to add your information to the copyright section at the bottom of the App.
To check out your branding let's quickly create a new App by clicking the Create App button, jgive it a name and then click Create New App. As you can see, it has the new branding information you entered instead of the default MyPhotoApp branding you saw when you created your first App. Wasn't that easy and quick!
So building future Apps is as simple as 1, 2, 3.
Create the App
Add images, and
Publish the App
It really is that simple.
You can add more customization such as SEO, background images, and colors, set the App Max width on computer etc. by clicking on the Layout Settings button to explore all the options. These can be applied to just the App you are working on or to the default template which will be used for all future new Apps by clicking the appropriate button.
MyPhotoApp is also designed to connect with many of your existing tools click on the setup tab to easily link your Mail Chimp and Postmark account. You can also find the option here to set up a custom URL – this allows you to create white label Apps that show your own domain details in the App URL instead of the default MyPhotoApp one. You can set a unique custom URL for each Brand you have created.
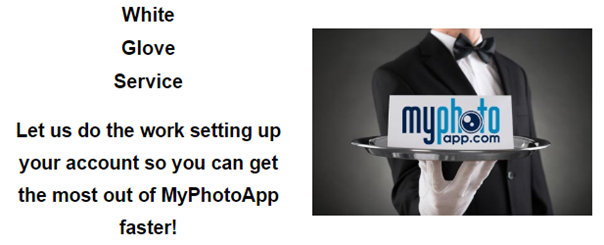
If you decide you would like to set up a custom URL It’s probably easier to do this when you start using MyPhotoApp and before you have shared any of your Apps with clients this allows you to get the shortest App URL without any disruption to existing Apps. Alternately you can create a new brand for your custom URL when you are ready to proceed or choose the alternative custom URL method that includes your MyPhotoApp brand ID in it. If the thought of tackling this seems daunting why not take advantage of the new white glove service and have it all set up for you so you can get your off to a flying start.
Click below to learn more about what is included and how to sign up:
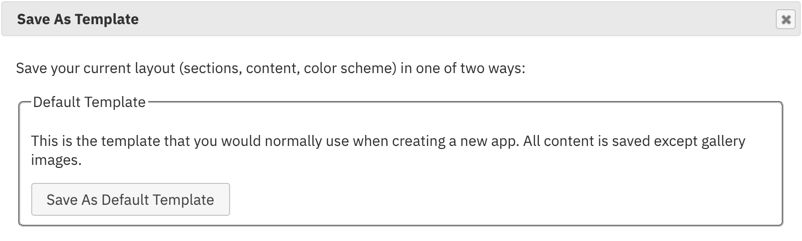
Once you have finished adding all your information in the Brand Quick Setup and any other other customisations its a good idea to save the customised app (without personal images etc.) as the default template. If you have already added client images and other information to the app just right click on it and create a duplicate App, you can then delete any sections you don't want to include in your default template along with any images etc. and then click on the save as template icon and choose Save As Default Template.
In future all new apps created with the default template will be created based on your customised App.
You are now ready to create your next awesome MyPhotoApp. To get off to a flying start your first goal should be to create personalized Photo Apps for your past clients. This is a great way to reconnect, introduce your new products to people and say thank you for their business.
For inspiration or sample templates to start building awesome Apps click on the Template Tab and browse the Template bazaar.
So until next time have a great day and enjoy building your next MyPhotoApp.