Need a knowledge base like this for your business?
Button Section
By Kim Dixon, MyPhotoApp Training Guru
Created: July 24, 2017, 4:19 pm UTC Last updated: February 12, 2019, 7:01 pm UTC
All the New Buttons sections now allow you to easily create Custom Buttons using Text and Icons from the included Icon library or upload your preferred images to use and supports jpeg, png or gif format. You also have total control over the color and size of your custom buttons.
There are 3 styles you can choose:
1. Standard ICONButtons - There are over 500 built in icons that you can choose from you can search for a suitable icon using key words such as phone. These icons have a modern flat style and can represent almost anything you can think of. The button colors can be adjusted to match your color scheme. Here is just a sampling of the various icons you can choose from:
2. TEXT Buttons - Text buttons are buttons that have words in them. Here is an example of a text button with a turquoise title Click To and the words Book Now in white.
3. Custom IMAGE Buttons - Custom buttons can be any image you want it to be. You upload an image file in jpeg,png or gif in an appropriate size, most icons sets you buy are 65 x 65 px
Buttons can be utilized for a wide variety of options and require the appropriate syntax or URL to be added in the link field in order to work and perform the intended action. Here are some of the uses you might want a button for:
Link to URL - This is very powerful and allows you to take the person to a website or another App.
Navigation Button - To Page or section in the app
Return button- return to the Home page or section desired when pressed
Custom menu - create your own menu using buttons
Banner Buttons - create a large banner style button for an app useful for website apps
Link To Social Media - create custom buttons for social media follow or sharing
Custom Contact buttons - to make telephone call on a mobile telephone, send a text message on a mobile phone, send an email or facebook message.
OpenText Box - Will cause box to pop up and display text inside that box. This is useful for providing pop-up instructions, help, or information.
Lock App - This will cause the app to lock. A locked app is an app that requires a password to access the app on the mobile device.
Toggle Section - This will let you toggle the visibility of a section. If a section is hidden, press the button and it will become visible. If the section is visible, it will hide it.
Show Liked Images - This type is used in conjunction with the proofing capabilities of MyPhotoApp. Press this button and a gallery of images will appear. The images in the gallery are all of the images that were liked.
Submit Form - Create a custom button to submit a Form instead of the standard form button
PayPal Pay Now - Link to paypal to take payments
BookingButton - Link to a booking service
For a full list of the various link syntax you can use oin buttons check out this Help article:
The new Buttons section doesn't come with any buttons already in it and you will need to Add each button that you want. After you have added your new Buttons section click on the settings cog to begin.
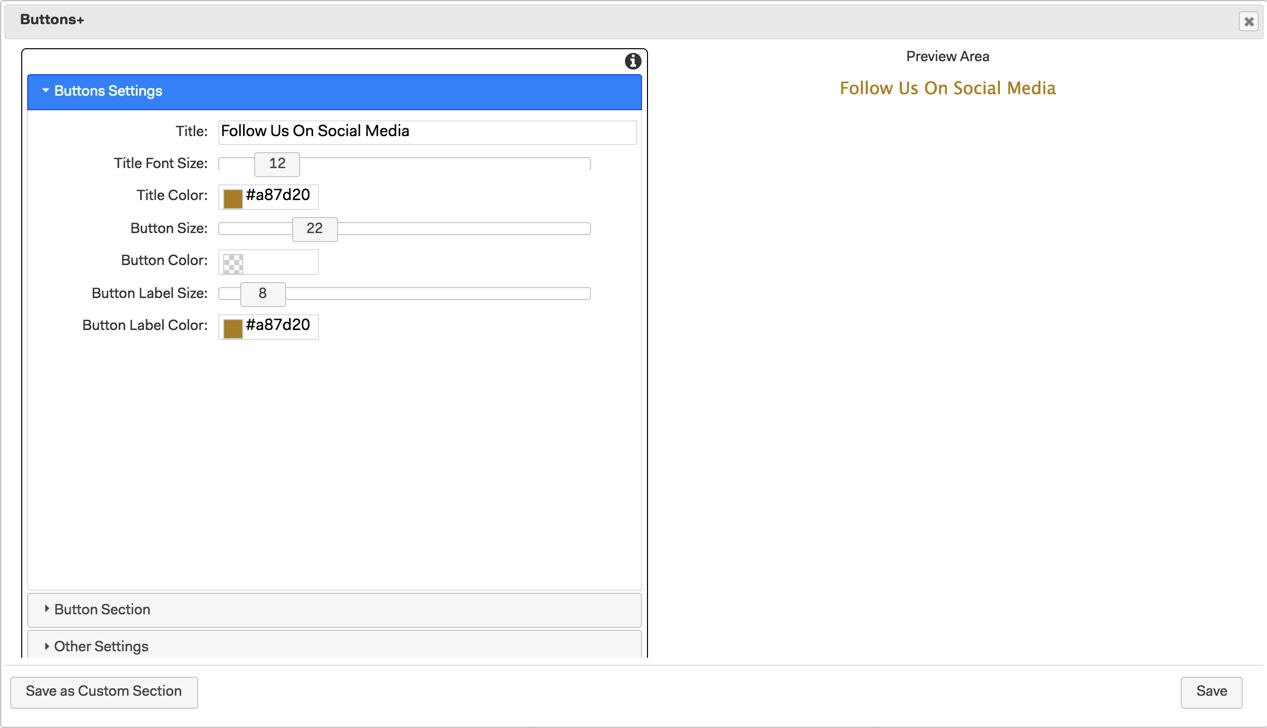
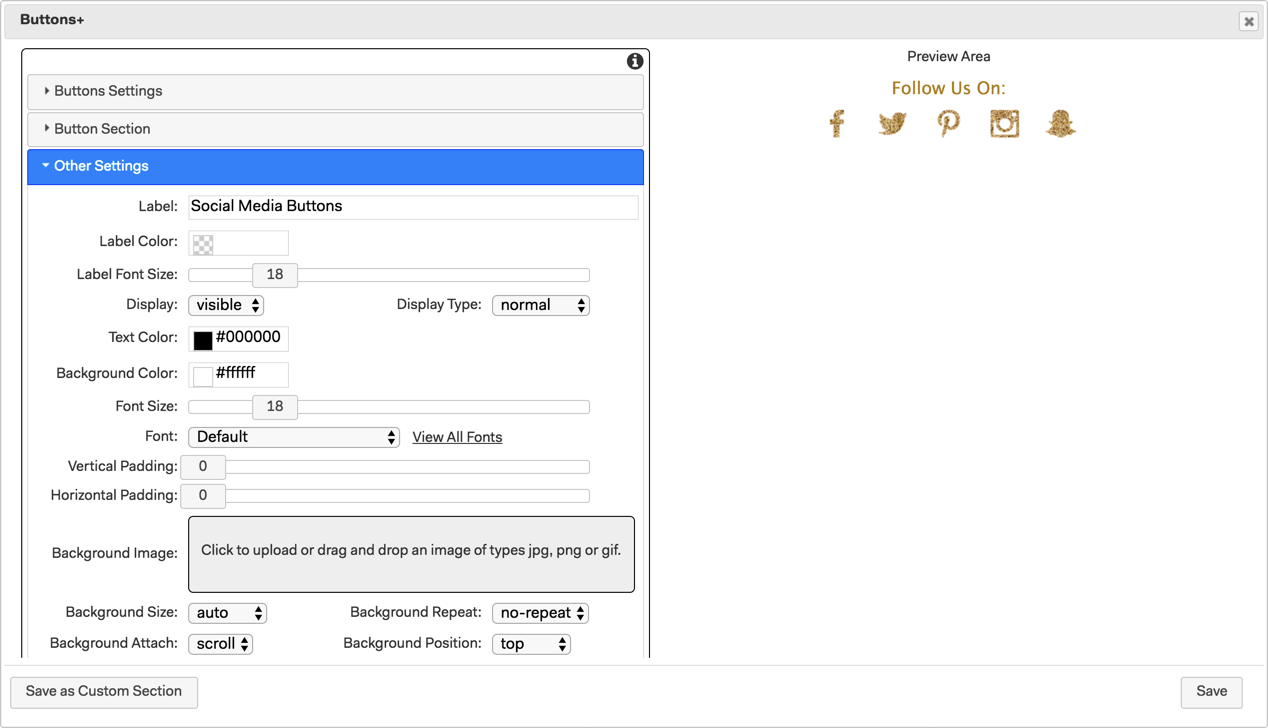
1. The first menu Button Settings allows you to set some globalsettings that will apply to the Button+ section. The first thing to add is a Title for the section that will appear above the buttons - I am going to create Social Media buttons so I'll add Follow Us On Social Media as the title. Next, I'm going to increase the Title font from the default 8 to 12 and then set the color using the color picker or by entering the hexadecimal #, I'm using a nice gold to match the bling button Icons I'll be using. I'm not sure on the exact size I'm going to want for the buttons yet so I'll just increase it from 12 to 22 which is usually about right. Because I'm going to upload my blink custom Iconpng files I don't need to bother with a Button Color so I'll just add the hexadecimal # for the gold for the button label color in case I add them, button labels appear under each button.
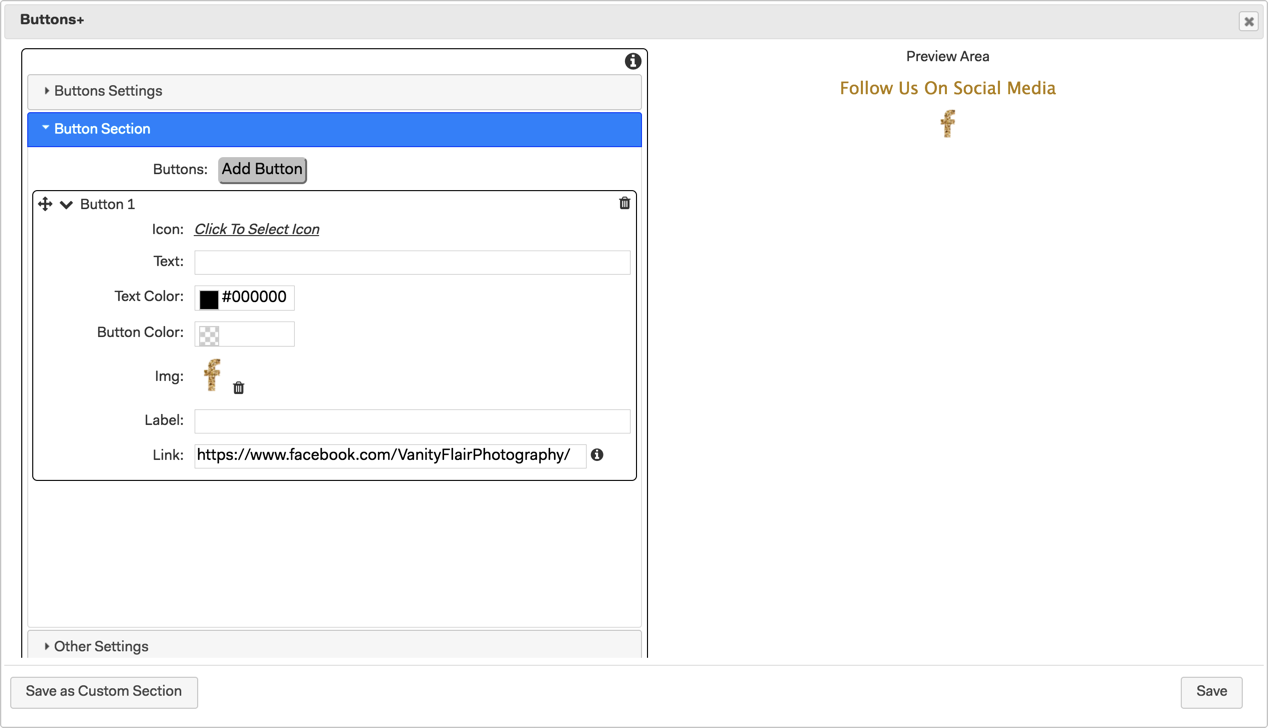
2. Click on Button Section and click Add Button to add the first button. Choose ONE of the following:
Add an Icon from the Icon Library
Type in Text for the button
Upload a custom jpeg, png or Gif file
Next type in the URL for the button which is the URL of the social media site followed by your Account ID like this:
www.facebook.com/VanityFlairPhotography
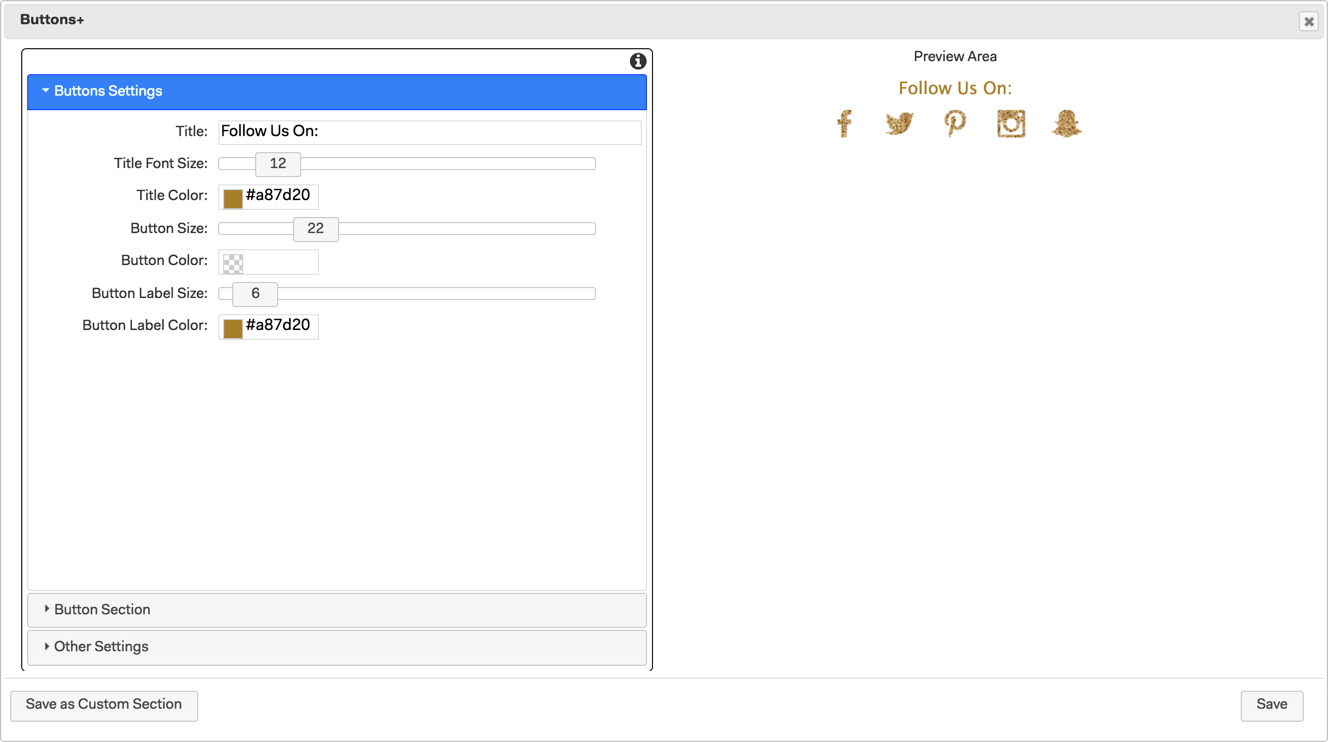
3. Repeat step 2 adding more buttons until you have finished and have a button for each of your Social media accounts. You can now change the size of the buttons or text labels until you are happy with the design.
4. Click on Other Settings and add a Label for the section so it will be easy to identify amongst the other Sections. Most of the other settings are not really relevant to a buttons section but you can add some vertical and horizontal padding to the section or add a background color or image to the section to make the buttons stand out more. Click Save to update the section.
5. Finally, it's time to publish the App and test the buttons to make sure all the links are working properly and that the size and texts look good on different devices.
Make any changes necessary and then when you are happy with everything it's a good idea to save your Buttons+ section as a custom section by clicking on the Save As Custom Section button so you can quickly add it to your future Apps.
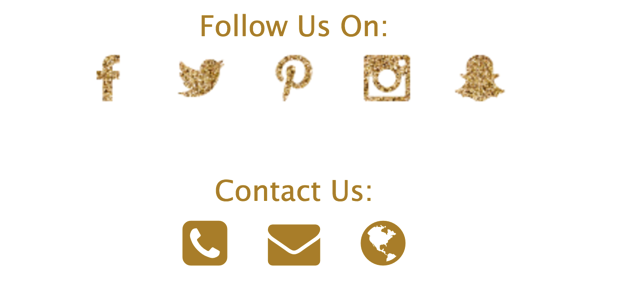
Here is an example of how the custom bling buttons look compared to some gold ones:
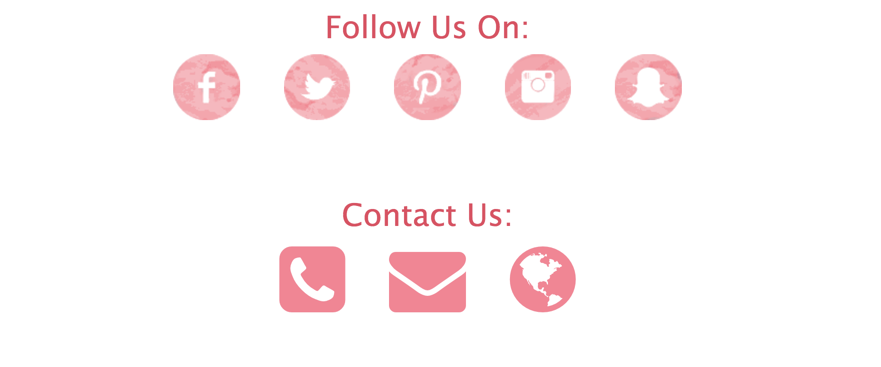
And here are some custom watercolor Icons compared to plain pink ones:
You can create your own Icon set in programs like Adobe PhotoShop, Illustrator or InDesign and add effects such as bevels and drop shadows to create a more 3-dimensional look to your buttons or commission a graphic designer to create an icon set that matches your Brand.
A simple Google search will reveal a wealth of free and low-cost Iconsets and market places like Etsy.com and Creativemarket.com are a good source of hand drawn or painted ones and you can find everything from glitter and glam to pastel water color or any theme you can think of that you want to match.
I have found a couple of free icon sets online - a nice bling sparkly one for free and a water color one that will match my boudoir color scheme nicely for less than $3. Custom buttons should be designed with the correct color scheme and size ready for use. The recommended size is 65 x 65 pixels but they can be any size you want and usually come as Png files 145 x145px is usually the maximum recommended size