|
Need a knowledge base like this for your business?
Checklist Section
 | By Kim Dixon, MyPhotoApp Training Guru Created: August 21, 2018, 5:19 pm UTC Last updated: February 15, 2019, 8:09 pm UTC |
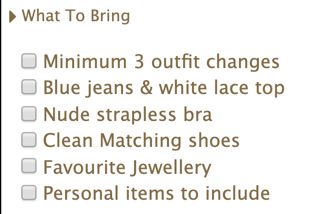
The checklist section lets you create a simple checklist that can be used in the app. Its great for adding a to do list or what to bring list in a client session app like this:
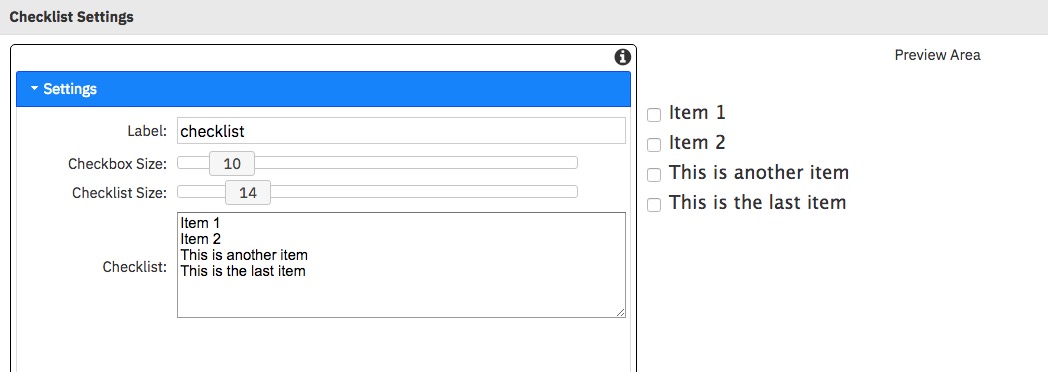
The checklist section starts off empty, to set it up click on the Settings Cog to open the checklist settings. Simply type in your list, each line represents a new item, so press return to add a new item to the list.
Items need to be unique. If you have two lines in the checklist that are the same, they will be treated like they are the same item. That is, if you check one, next time you bring up the app, both will be checked.
Due to the way web browsers render text and checkbox sizes, they are using different units. Use the slider to adjust each to your needs.
The checklist is persistent on the device the app is used on. Meaning, if you check (or uncheck) something, next time you bring up the app on the device it remembers it.
The spacing between items is controlled by the section font size, click on the other settings tab to change the font size or set to fixed font to control the spacing. By default the text color will be the one set in your brand quick setup but you can set a custom color for this section in the other settings.
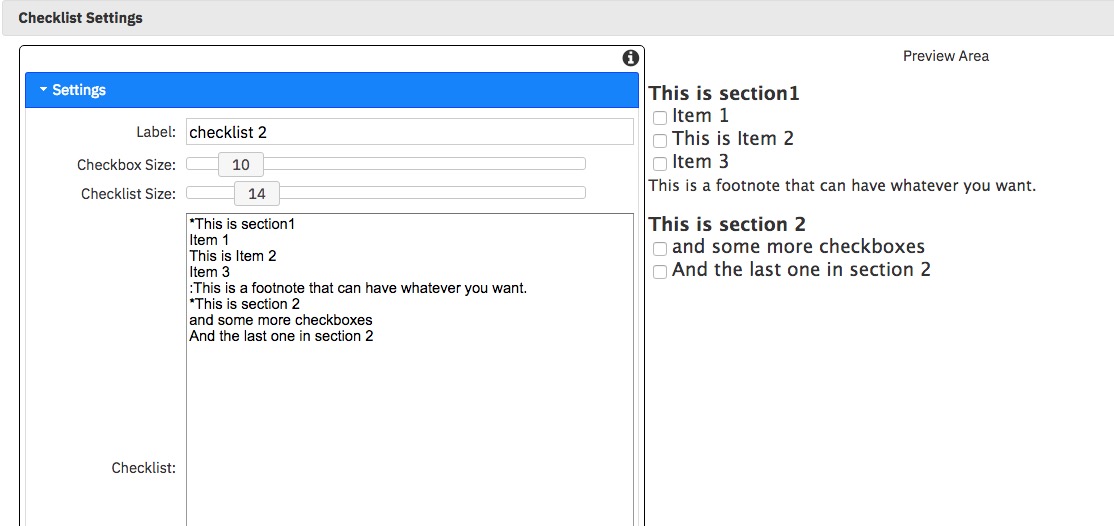
Add headings to your checklist
You can use the star symbol * at the start of a line allows you to break the checklist into subsections. Text in a line with a * prefix are displays in bold as a heading and without a checkbox.
Add subtext
Adding a colon : at the start of a line will display smaller text... like as a foot note, perfect for adding user help notes.
Here is an example:
Here is an example: