 |
Need a knowledge base like this for your business?
Group Section
 | By Kim Dixon, MyPhotoApp Training Guru Created: July 24, 2017, 4:29 pm UTC Last updated: January 30, 2018, 9:06 am UTC |
One of the key design function of the group section is the ability to apply a common background image, color or gradient across a number of different sections to tie them together visually.
Here is an example where a title section and an image section have been grouped together where a green gradient has been added as the common group background.

Adding Sections to The Group
You can add a section to a group in 2 ways:-
1. Move the section just below the group and right click on it and choose the add to group option from the menu.
2. If there are already sections in a group you drag and drop it between other sections already in the group to automatically add it to the group. You can rearrange sections in the group in the usual way using drag and drop.
To remove a section from a group, right click on the section you want to remove and select the ungroup option.
When sections have been added to a Group they will be 'nested' and appear indented with an arrow under the group section like this:-
Adding a Group Background
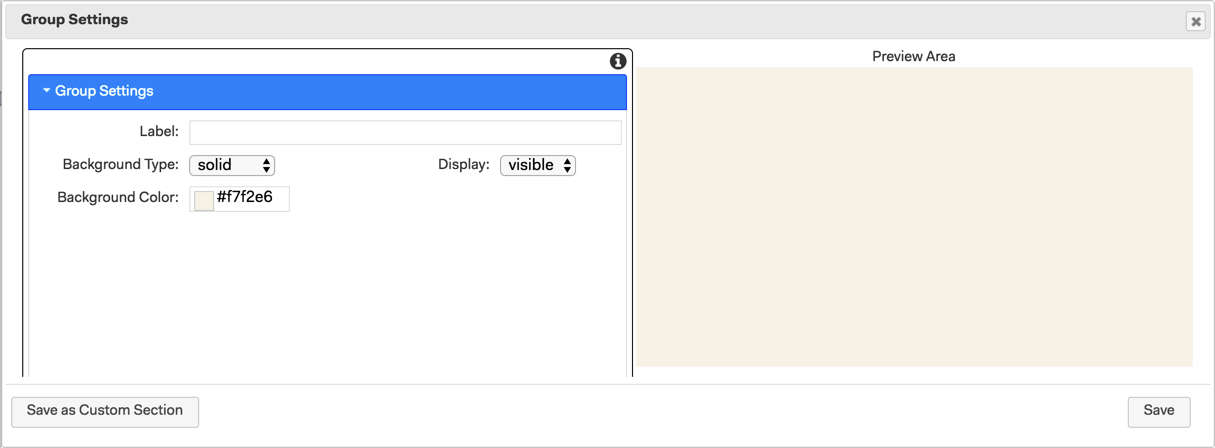
Click on the Group settings cog to choose the background type you want from:-
1. Solid - choose the background color you want from the color picker or add the hexadecimal color number to match your brand.
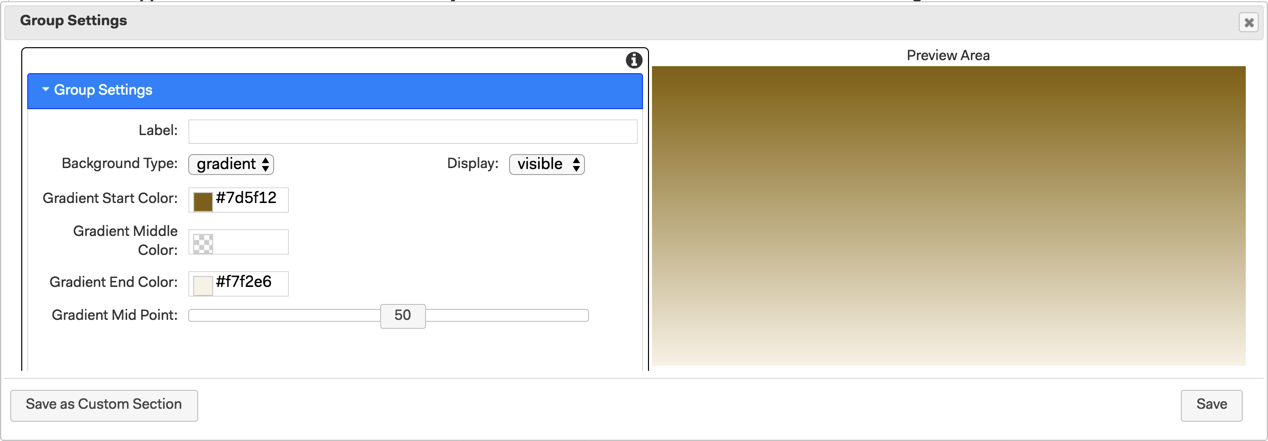
2. Gradient - Choose a start and end color and optionally a Middle color. if you have also chossen a middle color you can use the mid point slider to adjust how the gradient looks.
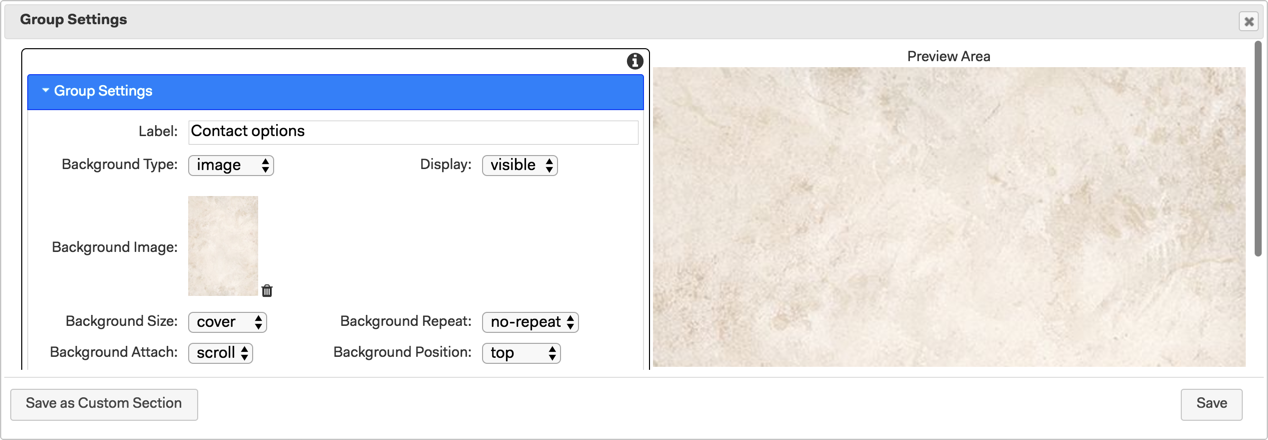
3. Image - Upload the image you wish to use as a background for the grouped sections. I have used a textured marble background in the example below. because the image is a portrait image and didn't fill the width of the App I also changed the background size to cover.
Here is an example of how each of the different the group background options look in an App, I have added 3 sections to the group, a basic contact form, contact buttons and share buttons.

Organizing Your Section
Groups can also be used as an organizational structure by logically grouping sections in your App within the Builder. Once sections are in a group you can move, copy, paste, delete or save the group as a custom section in one go. So if you decide you should have created your App with pages and you need to move a number of sections into a new page section simply add them to a group section and right click on the group section and choose move to the new page where you can ungroup them if you want.
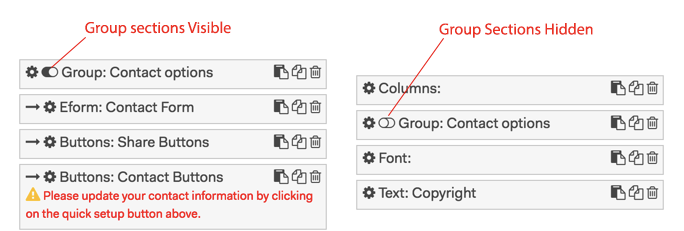
Show or Hide Group Sections in the Builder
Another useful feature of groups is that can Toggle the Visibility of the sections that are in a group to hide them from view in the layout sections area of the builder and so declutter it making it much easier to work with Apps with numerous sections in them. To toggle the visibility of the sections within a group click on the toggle button to the right of the group settings cog to hide the nested sections from view.
To unhide the grouped sections simply click it again to open the group stack again and reveal the nested sections.
Adding a Background to a Page
The group section is also a great way to add a different background to a page section. simply group all the different sections on the page together and then add the background you want to use for that page.
NOTE: Grouping will not affect how the individual sections behave in the Published App. For example, grouping a number of different column sections together and adding a common background will not link the different tables together so they will not line up as one big table, each column section will still behave as an independent section in the published App.
keywords:
Add a background to a Page - move multiple sections together - hide multiple sections in the builder - Nesting - nested sections