|
Need a knowledge base like this for your business?
Facebook Section
 | By Kim Dixon, MyPhotoApp Training Guru Created: July 29, 2017, 1:07 am UTC Last updated: September 23, 2017, 9:45 pm UTC |
The Facebook section gives you more control over how your App appears on FaceBook. Like the SEO and tracking sections, the Facebook section does not appear in the published App as it works behind the scenes.
Normally when you share an App without a Facebook section Facebook utilizes the information already in the App to generate the Facebook Post and uses the following:-
- The App Icon is used for the image
- The App Title is used for the Bold Post Heading
- The SEO text, if any has been entered on the SEO Tab in the Layout Settings, is used below the Post heading.
So Apps will look something like this when posted on Facebook:
The new Facebook Section changes all this and now puts your firmly in control of exactly how your Apps will look in Facebook posts.
If you have an Elite subscription you should ALWAYS be adding a Facebook Section to ALL your Apps because when they are shared on Facebook it will significantly enhance how they look.
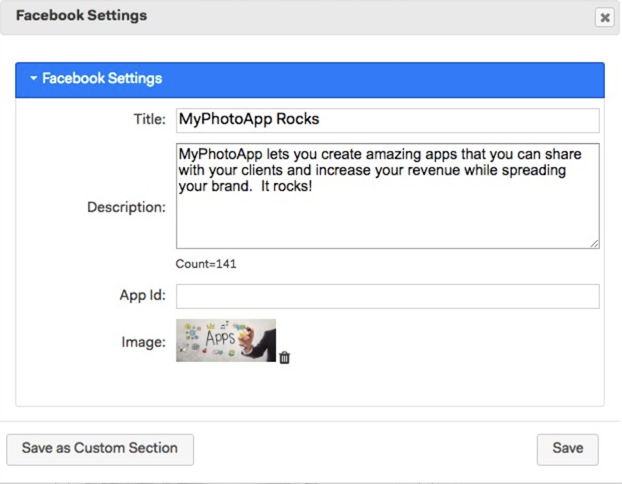
Start by adding a Facebook section to the Home screen (root) of the App and click on the settings cog open the Facebook Settings and enter information. here is an example of a completed Facebook Settings:
It only takes a few minutes to add the necessary information for your Facebook section as there are only 4 things to complete, one of which is not a required item:
1. Title - The title lets you specify the Facebook post title or heading that will be used for the app. This will appear in bold on the Facebook post immediately below the image. You could choose your clients name for a custom photo App or your business name or perhaps a call to action for a business or marketing App.
2. Description - The description allows you to add a short paragraph of text that will appear immediately below the post title. Around 200 characters should be sufficient.
3. App Id - This is an optional element. If you have a Facebook developers Account you may have a Facebook App Id and can specify it here if you want. But don't worry, you do not need to have one of these and you can just leave this information blank.
4. Image - This is probably the most important element, upload the image you wish to be shown in the Facebook post. A full-width image will be shown above your post title and description, making your post look much more impressive. The ideal size is 1200 x 700 pixels and the minimum should be 600 x 350 pixels for best results.
Once you have finished adding information click Save to update the Facebook section and publish your App. You are now ready to test how it looks when posted on Facebook.
Go to your own Facebook account and create a new post and paste the link for your App into it like this:
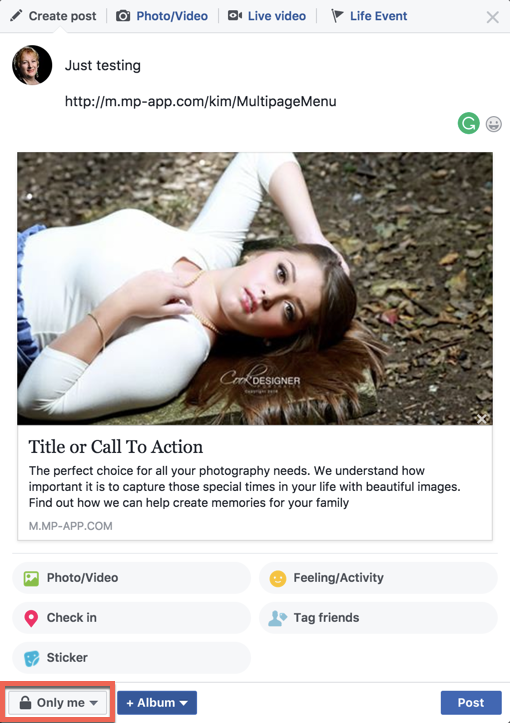
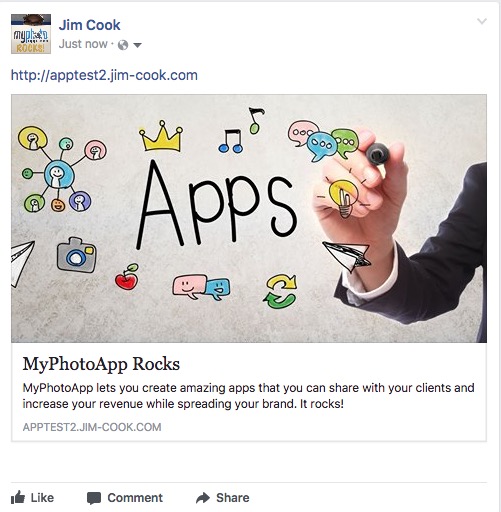
if everything is OK you should get a preview of how your post is going to look as in the image above. Before you post it remember to change the who can see this setting in the lower left hand corner, outlined in red in the example above, to Only Me and then click Post.
Here is an example of what the App looked like when posted on my Facebook account.
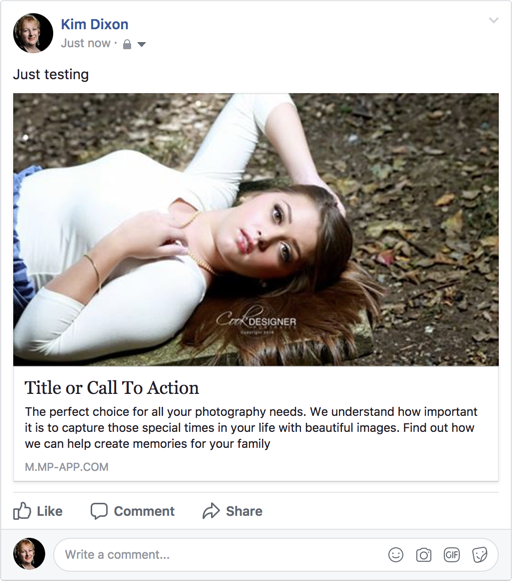
Check everything looks OK and make any changes you want to the Facebook Section Settings and republish the App. Once you are happy you can delete your test posts and you are ready to share your App on Facebook.
A word about Facebook Caching
When you post your App on Facebook, Facebook will cache the values and image at the time of the post. It will continue to use that data even if you change your Facebook section settings and publish the App again. In order to get changes to appear, you need to refresh the facebook cache. Here are instructions on how to do that:
In order to get the changes to appear, you need to refresh the Facebook cache. Here are instructions on how to do that:
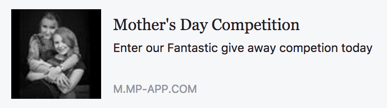
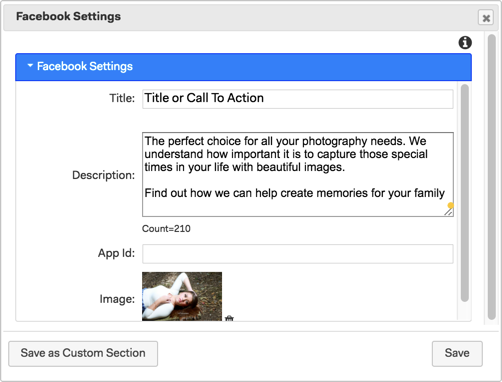
Here is another example of a Facebook section settings and how it looks on Facebook that Jim shared showing how you can use it for a marketing App.