 |
Need a knowledge base like this for your business?
How To Use The New Notes Section
 | By Kim Dixon, MyPhotoApp Training Guru Created: March 7, 2016, 12:45 am UTC Last updated: February 19, 2019, 1:02 pm UTC |
Another new feature recently added is the Notes section available from the Add A new section layout menu for those with a Professional Subscription.
The Note Section lets you add a text box where a user can add notes to the App. The App will remember what is typed in the Note BUT it will only be saved with the App it was created in on the device it was created on.
The Notes section allows users to type notes and save them with the App for future reference.
Once you have added a Note section click on it in the Visual Design or click on the settings Cog in the Layout Sections to open the Note settings menu.
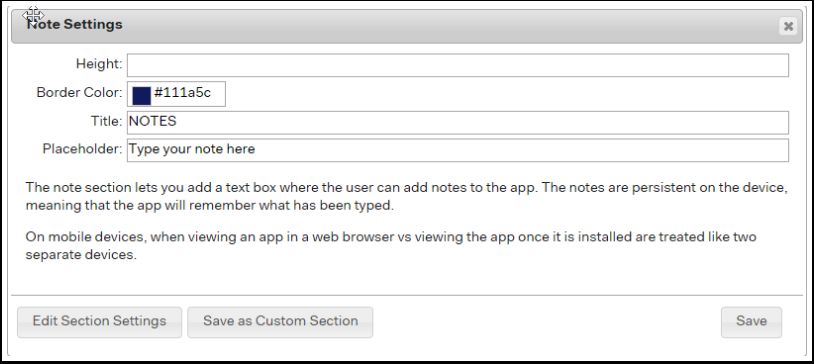
You can now:
- Specify a height for the note section in pixels - the default is 60% of the width of the app
- Choose a border color for the TextBox
- Add a Title (this will be left justified by default)
- Add placeholder text to guide users
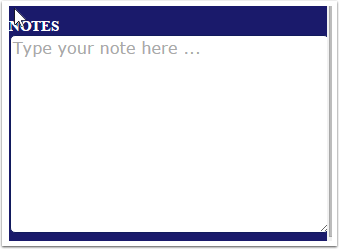
When you have finished click Save and the new Note section will appear in the Visual Display.
You can also add a Button to share the note via Email. This is a way to get notes off of a device and use it elsewhere.
1. Click on Add Section and choose a button section and then add the syntax sendnotes:email subject, this will send the note via an email to whomever the user specifies when they press the button.
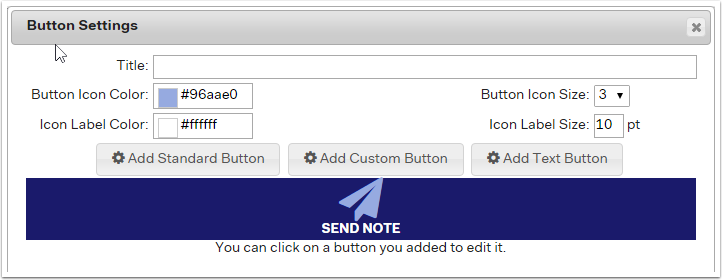
2. Click on the Settings Cog and then on Buttons and add a new button - in this example I have chosen choose a paper plane send icon.
****** ADD IMAGE
3. Click on your new button icon to go to the buttons settings menu and from the drop-down list for type choose Send Note.
****** REPLACE IMAGE
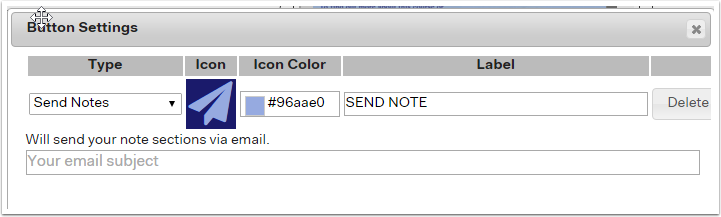
4. Add a label such as SEND NOTE and type in a suitable email subject such as Inspirations English App notes and click SAVE to return to the main Button settings menu.
5. Make any other changes you want to label text and colours and then click SAVE again to apply the settings.
- Finally drag the new button section to the position you want e.g. under the note section.
Ok so now publish the app and test it.

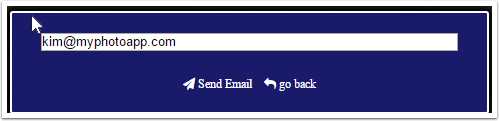
When you click the send note button a pop-up dialogue appears with an email field for the user to fill in with the email address for the person they want to send the note to this can even be to themselves. There are two buttons one to send the note and one to go back without sending the note.
NOTE: Notes are device specific - so if a user has the same app installed on their mobile phone and tablet any note they add will only appear on the App on the device they created it on. In addition viewing an App on a mobile device in a web browser as opposed to via the installed app Icon is treated as two separate devices. The note will be saved on the device but only be available in the version it was created in.
Here is a link to a sample App with a PDF file and Note section in it for you to try.