 |
Need a knowledge base like this for your business?
How To Add A Picture To A Form
| By Kim Dixon, MyPhotoApp Training Guru Created: May 4, 2016, 4:35 pm UTC Last updated: July 18, 2018, 8:17 pm UTC |
You can add an image to a form using a text output section. Here's how to do it:-
- Click on the Eform or Cog to open the Enhanced Form settings
- Add a new section by clicking the + symbol and change the section type, using the drop-down list, to Text output (markdown).
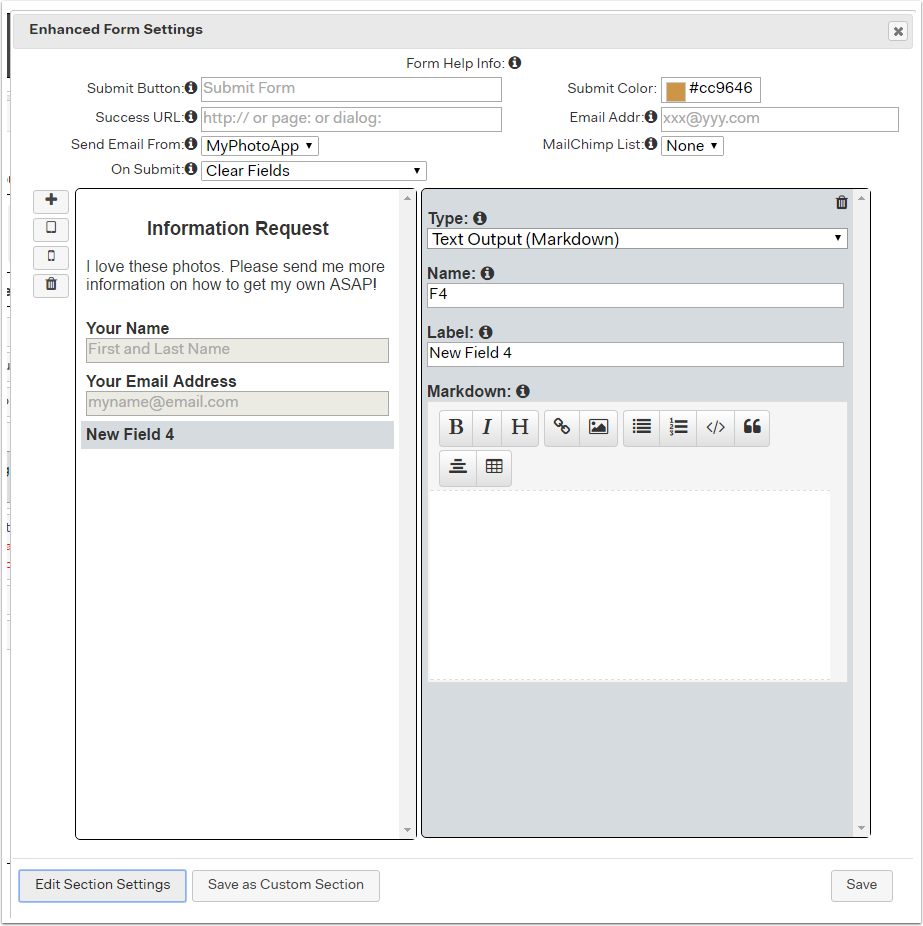
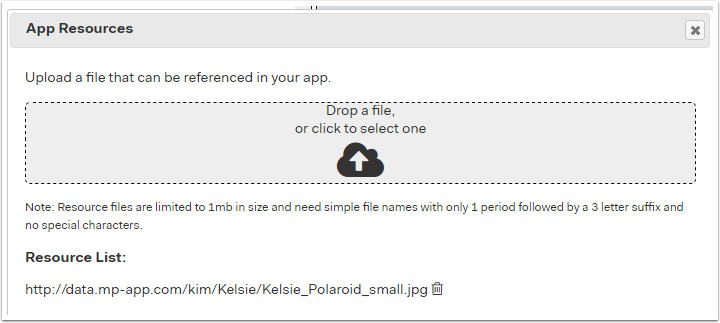
- Click on Edit Section Settings and then on Resources and upload the image you want to add to the form.

- When the image has uploaded highlight and copy the image URL from the resource list and click the X to close the App Resources window and return to close the section settings window.
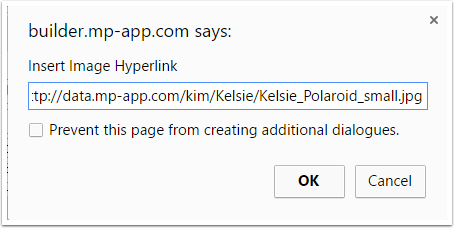
- Now click on the new text output section you added and click on the image icon on the markdown section toolbar to open the box below, paste the image URL into the dialog box and click OK to add it.
-
- Drag the Text output section to where you want it in the form and update or delete the default label I have put Kelsie as the label. You should now see your image in the form like this.
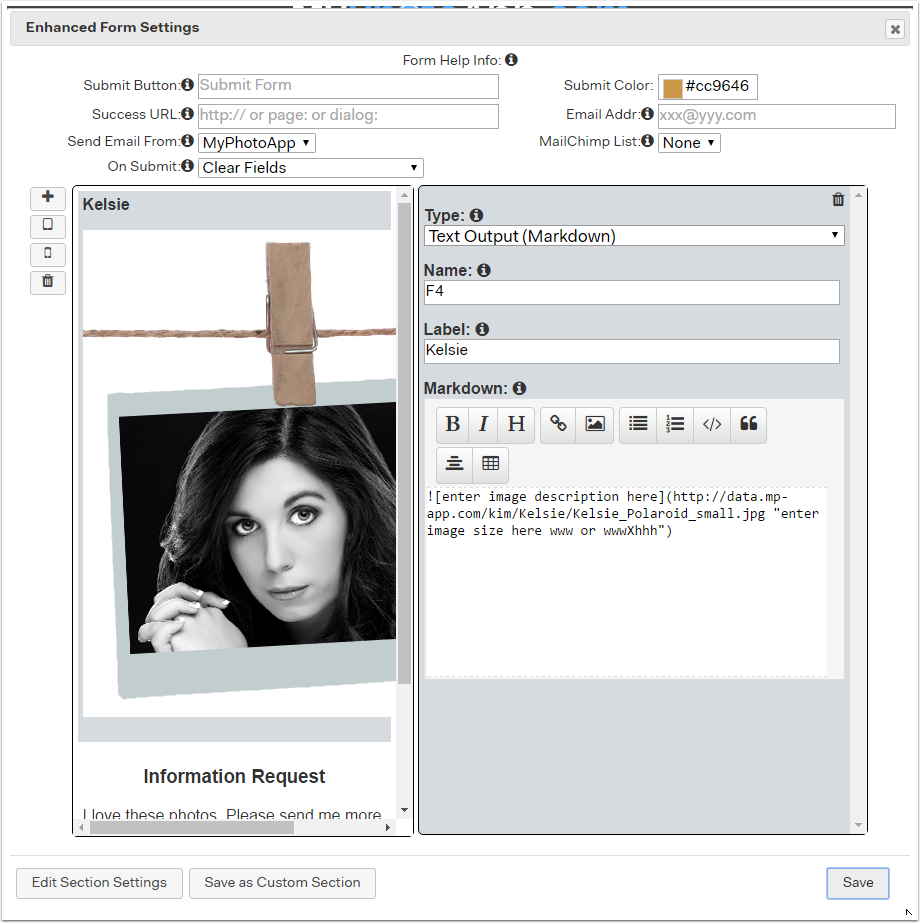
- The image doesn't quite fit but we can fix this by specifying an image size in the markdown section. To make the image auto fit up to its maximum size highlight the text enter image size here www or wwwXhhh between the speech marks and type in 100%. You can specify any percentage you want or pixel dimensions such as 300 x 300. You should only specify pixel dimensions that will maintain the same aspect ratio as the original image or it will be distorted like this.
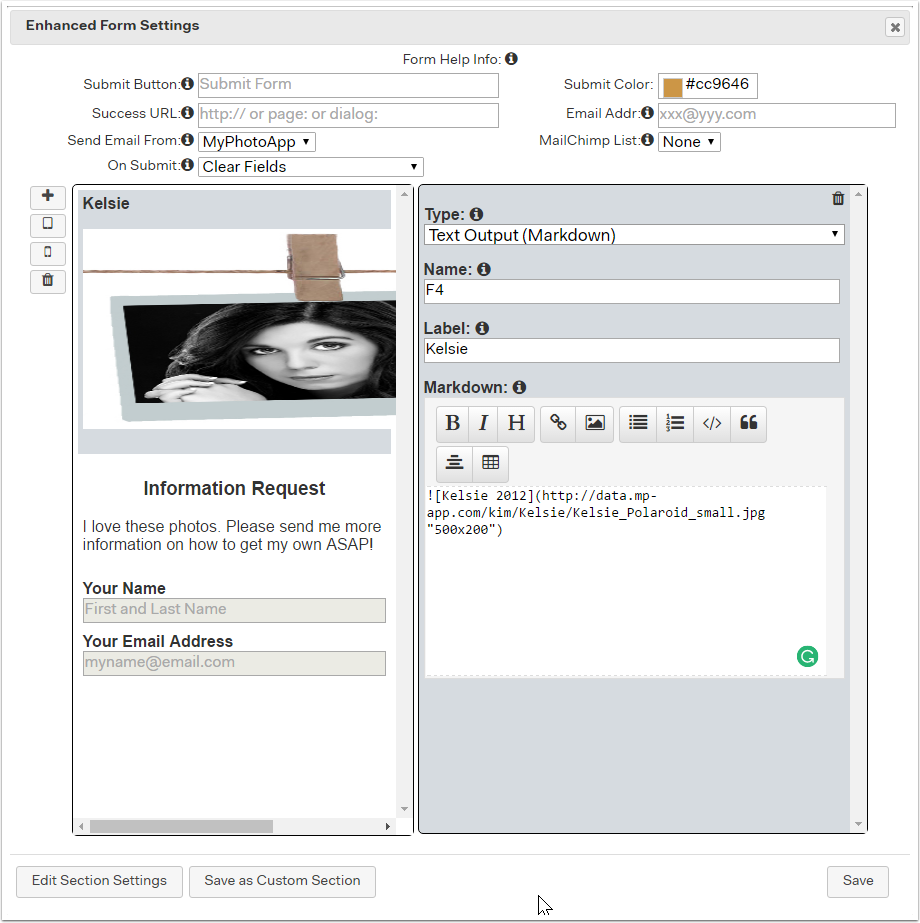 As I can't remember the pixel sizes I'm going to set the image size to 100%
 - You can also add a description to your image. The image description will appear when someone mouses over the image. It's a good idea to include key words as this can help with SEO if you have added an SEO section to your App. To add a description Highlight enter image description here and type in the descriptive text you want. I'm going to put Kelsie 2012 Senior Cook Designer Portraits Kentucky
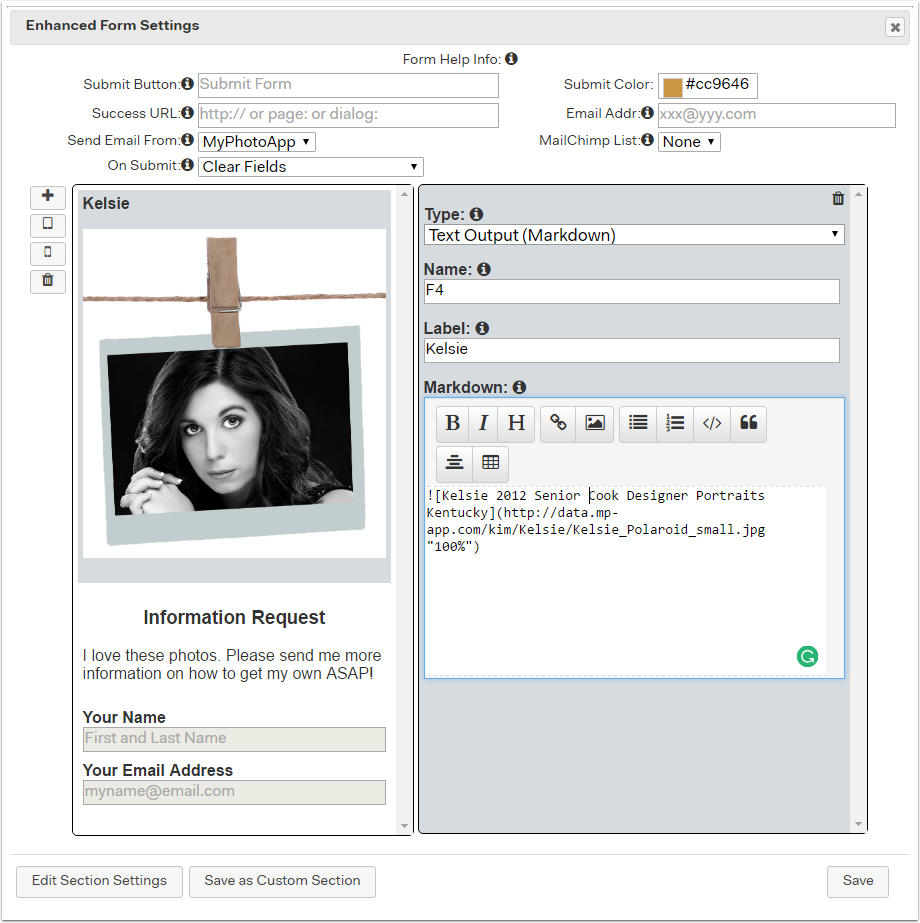
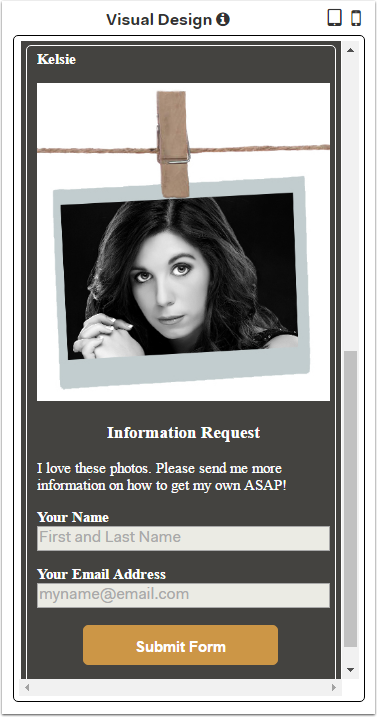
- Once you have finished updating the markdown section click Save to return to the builder. Your App preview in the Visual Design should look something like this.
There will be a certain amount of trial and error to determine the optimum size of an image depending on the use you intend. You need to consider things like how likely is it that the App will be viewed on a PC and how big would you want the image to appear? For example, if the computer Max width is 1024 and my original image is less it won't fill the app horizontally when viewed on a PC. Resource files are limited to a maximum of 1m in size.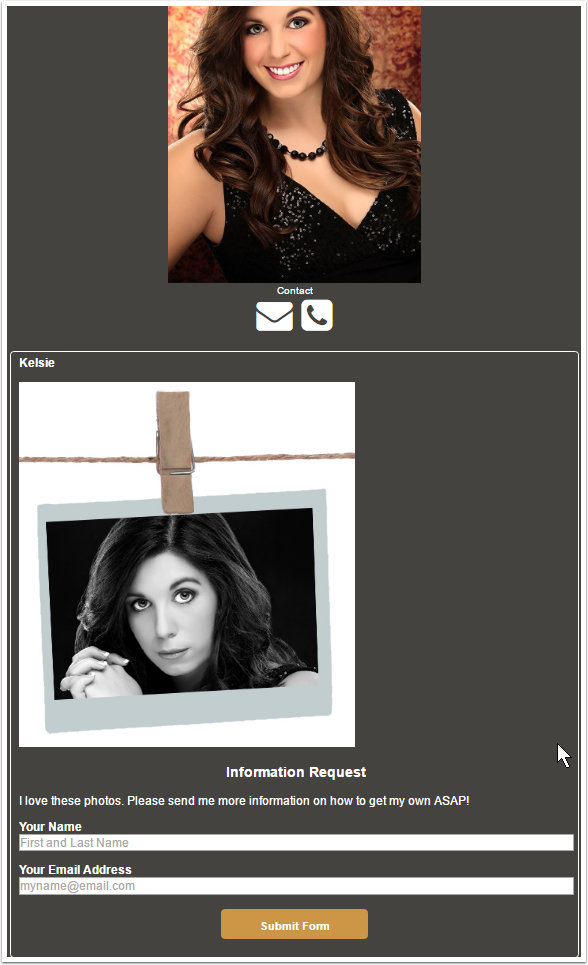
If you want to specify the image size in pixels it's a good idea to save your original image at the aspect ratio you want to maintain.
It's important to remember when trying something for the first time to test how your publish app looks on different devices. Every form is going to have different requirements.
Adding Images in your forms can be very useful if you are creating something like an order form, asking people to choose a product or even a booking form to add a visual cue to the information to make it easier for them to identify the item they want to select.
Keywords: insert photo/photos, add photo to form, photos in forms, images in forms, insert graphic in form