|
Need a knowledge base like this for your business?
Dynamic Text Section
 | By Kim Dixon, MyPhotoApp Training Guru Created: November 19, 2017, 1:26 am UTC Last updated: December 3, 2017, 6:04 pm UTC |
The Dynamic Text section lets your clients, the end users of the app, add a simple text message to the app using a basic message input form which is automatically hidden in the app in the same way as a dialog is and accessed via a button with a link to it.
You can use this section to allow users to add comments and messages for a wide range of uses depending on the type of app you are adding it to including:
- Comments about the app and what it promotes
- To make suggestions
- To provide testimonials
- To add ratings & reviews - great for third-party business apps
- To provide well wishes to the bride and groom in Wedding guest app
In fact, the uses are to a large extent, endless and I'm sure people will think of many more uses to add to the list.
NOTE: Because of the way the Dynamic Text works Apps with a dynamic text section will not work unless connected to the internet.
You can set the Dynamic Text Section to allow the user to provide up to three elements of data:
1. Name - This is an optional field tick the box to include it in the form. names are displayed in bold and if someone leaves this blank anonymous will be displayed.
2. Rating - Tick the box to add the optional star rating field this is displayed to the right of the name.
3. Text - The message they want to add. If a person does not enter any text, they will get an error message.
How To Set Up The Dynamic Text Section
Add a dynamic text section to your app and click on the settings cog to begin setting it up in a few easy steps:
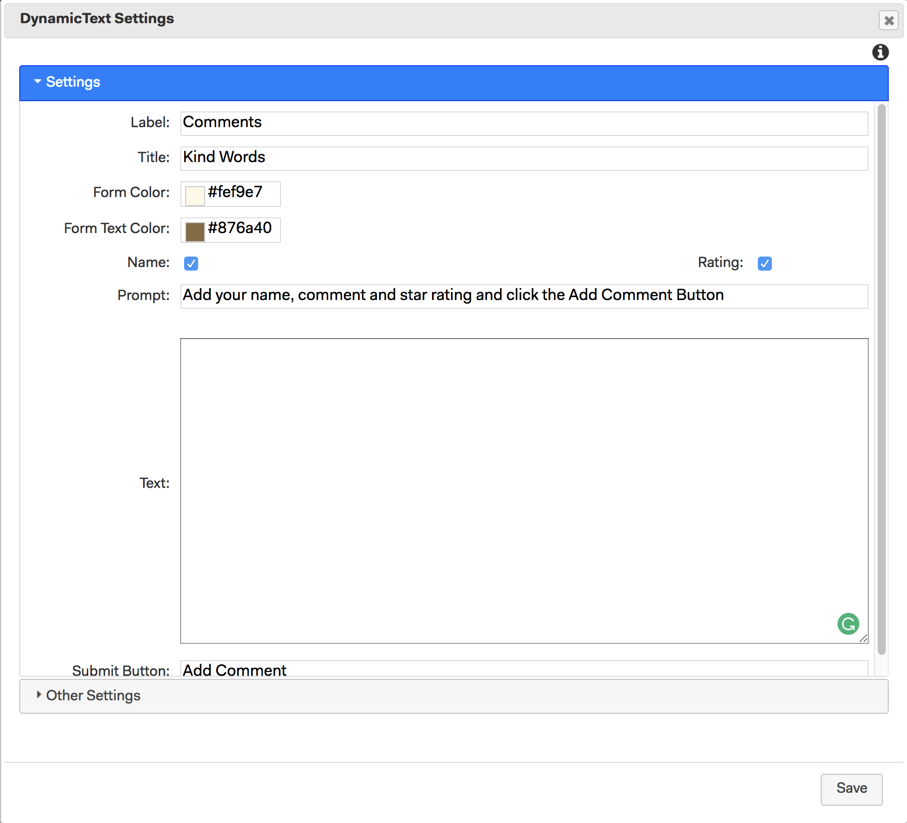
Label - start by adding a suitable label for the new section. This will be used when you create a button to open the message input form.
Title - This will appear at the top of the message input form.
Form Color - This is the background color that will be used for the message input form when it opens in the app. The default color is beige.
Text color - Set the color of the text used for the messages. The default color is black.
Name - Tick this box to include a name field on the text input form.
Rating - Tick the box to include a Star rating option on the text input form.
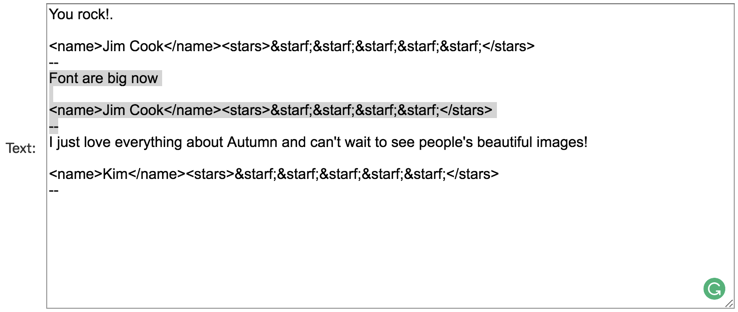
Text - Once the app has gone live this is where the messages users have submitted will be stored in a raw format, which looks similar to markdown text.
Submit Button - Add the text label you want for the message form submit button.
Other Settings menu:
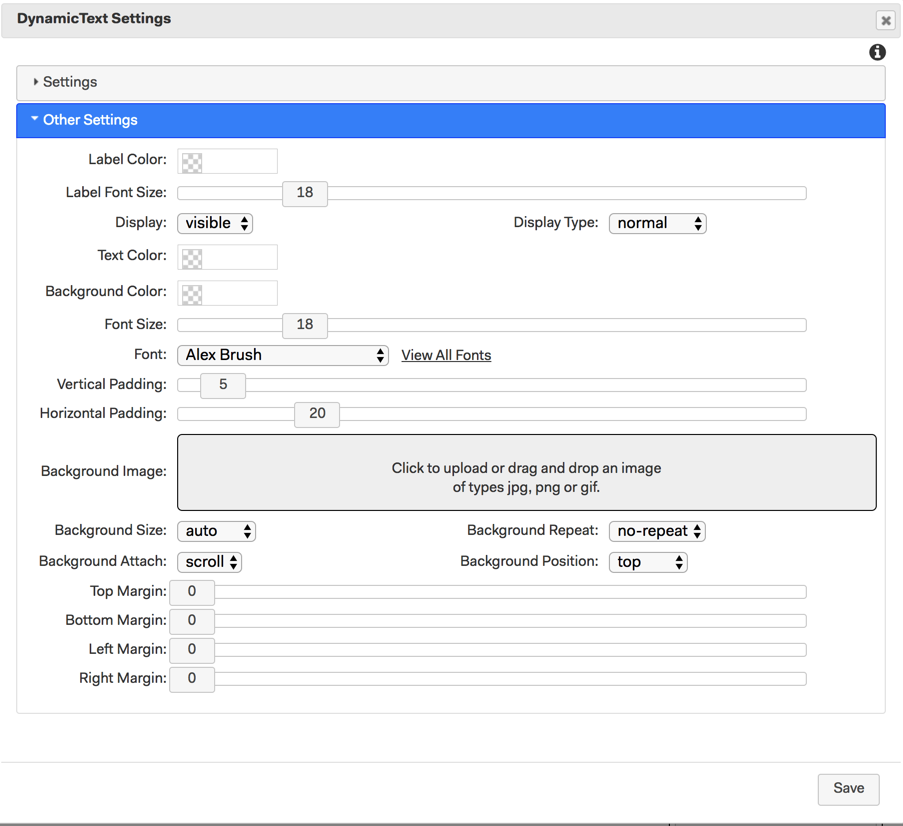
Label color - This is the color the Section label will appear in the app if you choose to set the display type to Accordion.
Lable Font Size - This controls the size of the label when used as an accordion heading
Display - Set to Visible by default
Display type - Set to normal by default so all comments added will be visible in the App
Text color - This sets a custom text color and overrides the default text color set in the brand setup or any color set in the main settings menu.
Background color - sets a custom background color for the section
Font Size - Sets the size of the text for uploaded message
Font - sets the font used for the uploaded messages
Vertical Padding - adds padding to the left and right side within the section
Horizontal Padding - Adds padding to the top and bottom within the section
Background image - allows you to set a custom image as the section background - choose the various settings you want for how the image is displayed.
Section margins - set margins around the section to indent it, so that the app background is visible for any of the sides.
When you have finished making changes click Save to update the section.
Add A Button to open the Message input form
To enable App users to add content to the dynamic text section, you need to create a button that will open the message input form when they press it.
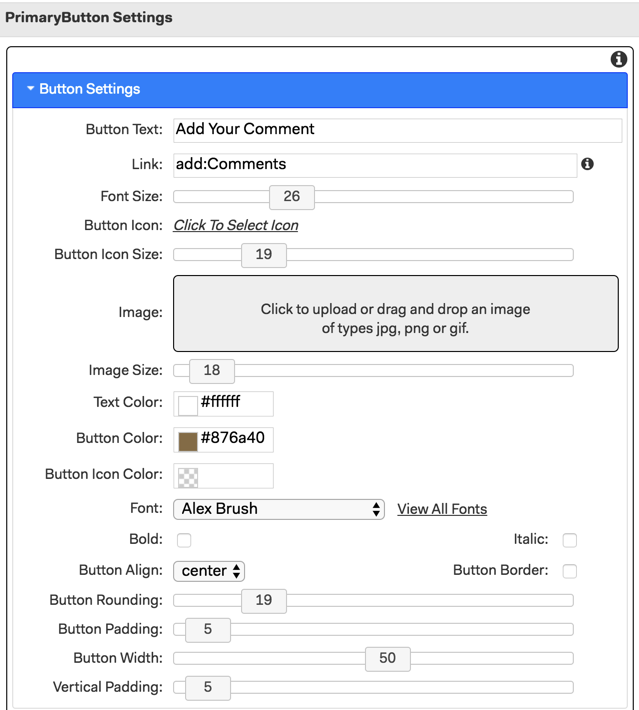
1. Add a button section of your choice such as a primary or buttons+ section and position above the dynamic text section. I have added a primary button section.
2. Click the settings cog for the button section to set it up. In this example, i have added Button text and set the button color to gold.
3. In the Button section, link field add the following link: add:textlabel where textlabel is the label you added earlier for the dynamic text section so in this case, it would be add:Comments. Labels are case sensitive and you will get an error message if the label name you try to use is incorrect or doesn't exist.
4. Save the changes to the button section.
Add A Title For The Comments In The App
It's a good idea to add a heading that will appear above comments that have been submitted and added to the App. This is easy to do using a title section.
1. Add a title section and position it above the submit comment button you have just created.

2. Click on the settings cog and add a suitable title and subtitle.
3. Choose the settings you want in terms of font, size and padding
4. Save the changes.
Add any other content you want to the app and publish it. You are now ready to test it out.
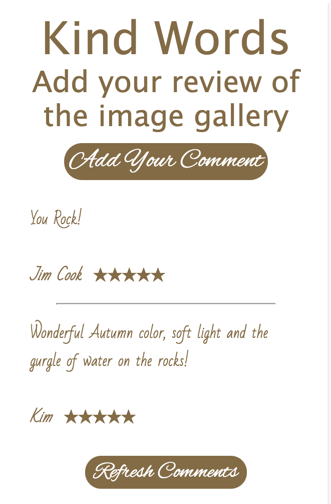
How to Add A Comment To The App
It's really easy to add a comment to the app:
1. Click the Add Comments Button to open the message input form.

2. The Title you set will appear at the top, and the prompt text you added underneath it. Simply fill in the available fields with name, rating, and message. if someone doesn't enter a name the field will show anonymous in the app. If they fail to enter any text in the message field they will get an error message.

3. Click the submit button on the left to submit the message or the cancel button on the right to cancel and return to the App
4. The new message should appear in the app immediately.
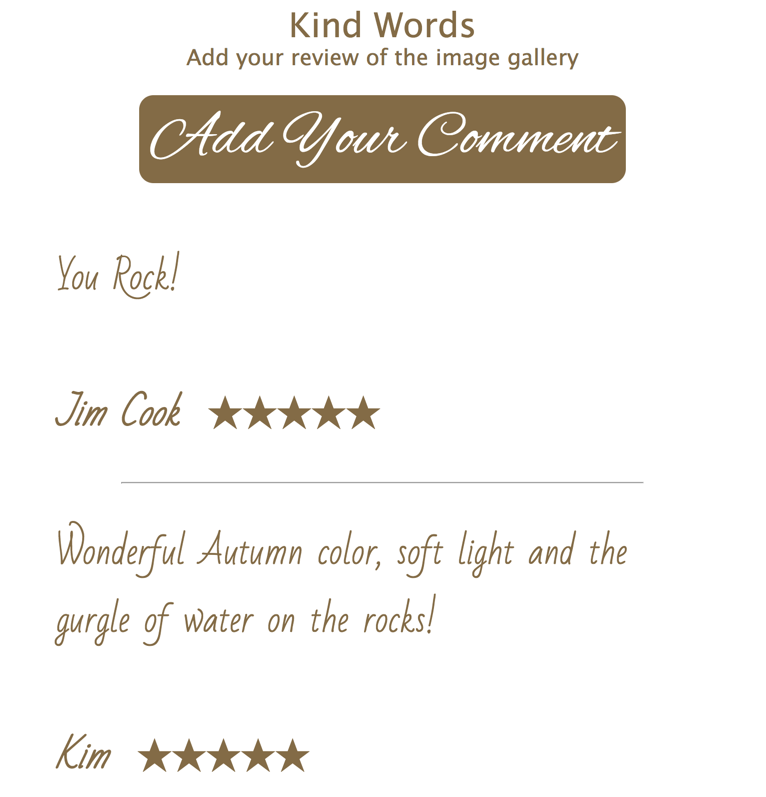
Whenever someone submits a new message it will appear in the app at the top of the list of comments already submitted. Each message is separated by a thin line. New dynamic content is added when the app is opened.
If you want people to be able to check for new messages submitted by other people without restarting the app you can add a refresh button that will refresh the Dynamic content when pressed. The Refresh button should have the following link: refresh:xxxx where xxxx is the label you added earlier for the dynamic text settings - so in this example, it would be refresh:Comments
To test the refresh button, you can just open the app on two different devices or browsers. Upload an image in one, and hit refresh on the other.

Editing The Text People Have Added
Click on the setting cog to edit the dynamic text section. You can make basic changes to the data in the Text field to correct any obvious errors or delete unwanted content or all the message data by highlighting the text and pressing delete. The format of the data is saved with the name between <name></name> and the stars between <stars></stars>.
After making changes you will need to re-publish the app for the changes to take effect.
TIP: if you want to keep a copy of the messages you can copy & paste the raw text data from this field and save it in a word document to edit and reformat for another use, such as to create a guest comments page in a wedding album.
WARNING: Editing an app with dynamic content in the builder is risky, whilst any dynamic data collected should be loaded in the builder there is a chance it may not be and some or all of the text or photos may be lost forever as a result. The more data there is the greater the risk. In addition, ANY new dynamic content added by App users during the time you are editing the app will definitely be lost when you finish your editing and republish the app.
It is, therefore, best to ensure that you add the dynamic section once all other editing has been done. If you do need to edit an active app it is essential that you do so quickly and ideally at a time when people are not yet using it or unlikely to be using it while you are editing it.
You can check out an example app by clicking the link below