Need a knowledge base like this for your business?
Using An App As A Template
By Kim Dixon, MyPhotoApp Training Guru
Created: March 17, 2015, 11:42 pm UTC Last updated: February 17, 2019, 7:41 pm UTC
There are three ways to quickly achieve a common look or layout for your Apps.
1. Create A Template App
Template Apps are really easy to create and can be designed just the way you want as a model for future Apps. Creating new Apps based on a Template App is much faster than starting from scratch. You don’t need to publish Template Apps, unless you intend to share them with other people ether by shared template or the template bazaar.
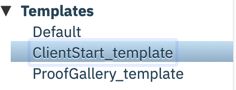
Templates are identified by a special suffix _template and will look like this client_template. It's a good idea to create a new folder to store your templates as once you have created a template it is added to the default template and the 4 MyPhotoApp templates found in the Create New App window ready for you to select. I usually add a basic app with my preferred default layout to the folder in case i ever accidentally update the default template without meaning to so its easy to get back to what i want!
In the example below you can see there are 2 custom templates, ClientStart and ProofGallery
When creating a template remember to only add the images and content that you will want to have in the App you create from it.
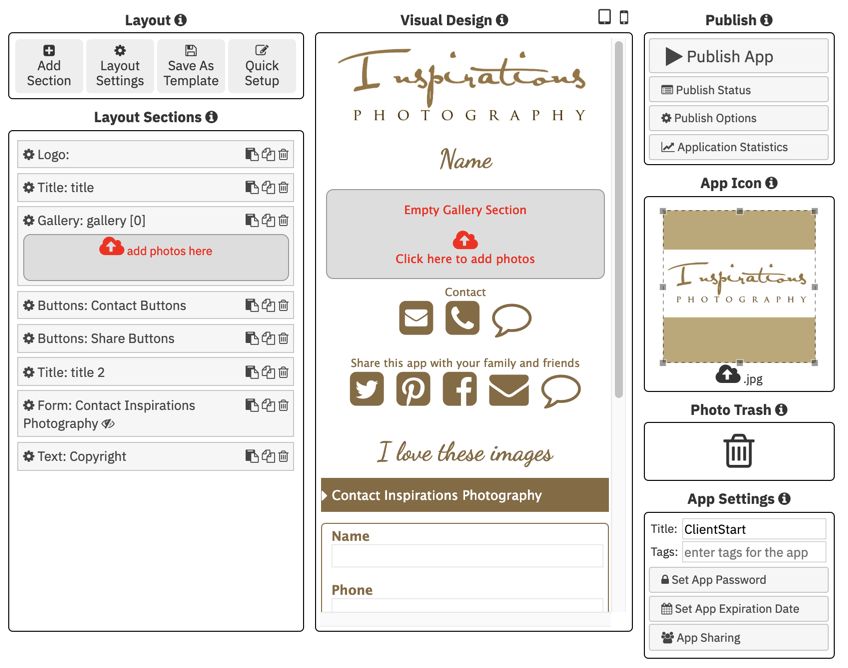
To save an App as a Template:
Create an app with the sections and content you want to include in your template or select an existing app you want to use in the App Navigator. If you are using an existing app you may want to make a duplicate app so you can remove any unwanted content from it and make any other changes required.
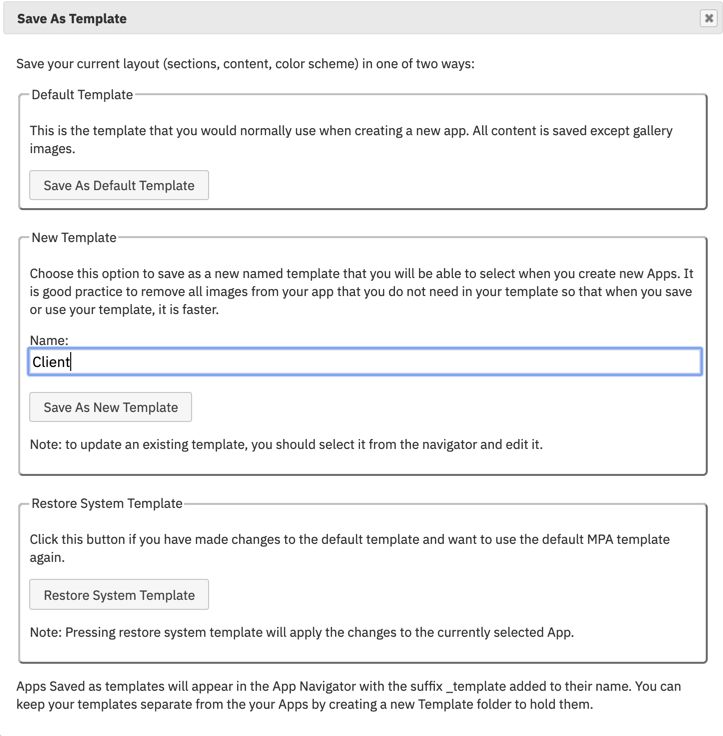
Once you are happy with your design click on the Save As Template button and type a suitable name for your template in to the New Template name field – don’t worry about adding the _template suffix as this is done automatically.
Click Save As New Template and your new template App will appear in the App Navigator and you will get a confirmation message.
Your new Template App is now ready for use. It's a good idea to create a new folder to store your template Apps in, once you have done this you can just drag the App into the folder.
If you later need to make any changes to your new template they will automatically be saved.
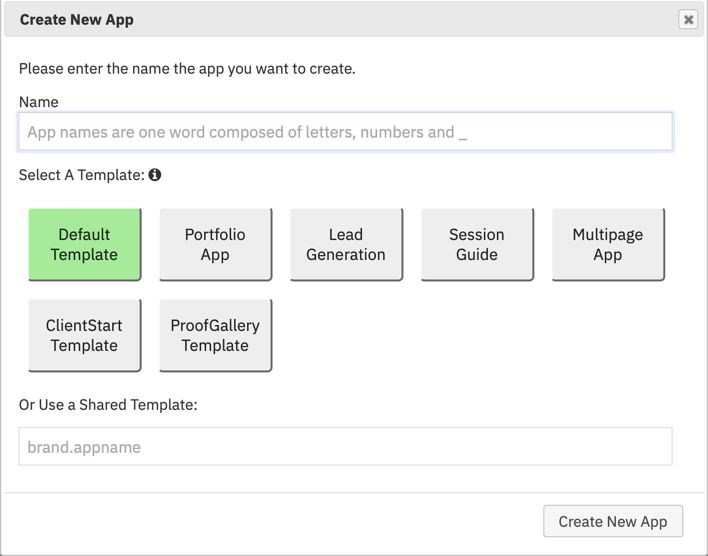
To use a Template App
Click on the Create App button
The default Template is automatically selected, click on the Template Icon you want to base your new App on
and click Create App
Customize the App and add images and other content.
Publish and share.
And there you are all finished.
You can choose to use one of the MPA templates by clicking on the Template Icon you want to use or use a template some one has shared with you by typing in the name of a template in to the Shared Template field.
Sharing Templates & Apps With Others
To share one of your Templates and Apps with other MyPhotoApp users you will need to add the email address they registered with MyPhotoApp with in the app sharing permissions field and Publish your App. You can then provide the name of your template and brand in the special syntax form like this; brand.app_template. So if your brand is inspirations and the template App you wish to share is called client_template you would share the following syntax inspirations.client_template. Anyone with permission to use it can then enter it in the shared Template field in the Create App window and create their own copy of your template. This is a great resource for sharing new ideas in the MPA Facebook Group and often leads to new features being added to MyPhotoApp! You can also Share Apps by adding a * to the app sharing permission and adding further details and a screen shot so they appear in the Template Bazaar.
2. Duplicate An Existing Working App
A quick and easy way to create an App is to use one you have already created as the starting point by making a duplicate. To duplicate an app:
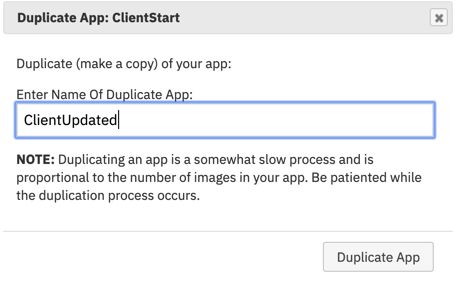
Right click on the App in the App Navigator and choose Duplicate App from the menu.
Type in a suitable name for the duplicate App
Click on Duplicate app and wait for it to finish.
This will make an exact duplicate of the original App including all images and gallery images. The downside to this option is that duplicating a large number images can be a relatively slow process and you need to be patient. Once the duplicate app is created, you will need to manually delete any images you don't want in the new app which is now ready for you to customize and publish
3. Set As Default Template
Another option if you have created a design that you would like to have as the default layout for all your future App is to save it as the new Default Template. This updates the existing MPA default template.
Select the App you want to use as the Default Template
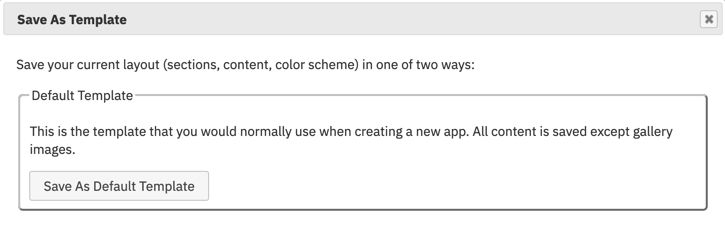
Click on the Save As Template button
Click on the Save As Default Template button
All future Apps based on the Default Template will use the new layout and content. When you save a new Default Templatethe Gallery images aren’t saved so the galleries will be blank in the app you subsequently create ready to use. You should only save a layout with the other images you will typically use in all of your apps.
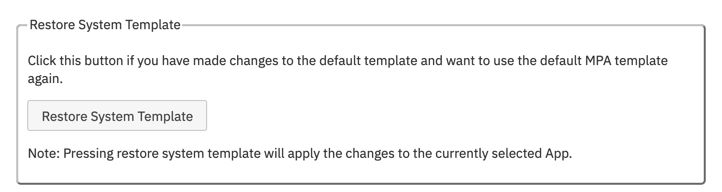
TIP: If later on you want to return to using the MPA default system template it's easy to do so.
WARNING: Before restoring the system Template, you need create a new blank App so this can be selected when you restore the MPA template, as the changes will automatically be applied to the currently selected App!
Click on Create App and type in a name and click Create New App
Now click on the Save As Template button and click on Restore System Template.
The previously saved template will be replaced with the default MPA system template.
In future new Apps will be based on this layout and content.
Example Use:
You have created a cool App for your senior clients, and you want to use this App for all senior clients in the future.
Select the App that you wish to make a template and click on the Save As Template button.
Give it a suitable name such as senior, in the New Template name field.
Click on the Save As New Template and your new template will appear in the App Navigator.
Select the senior_template App and drag and drop it into your template folder.
Delete any images or content that you wouldn't want to use for other clients and add anything else you want.
That's it your template is ready for use.
When you want to use the template, just click on the Create App button and select the senior_template icon and click Create App.