Need a knowledge base like this for your business?
How To Upload Images With Best Quality
By Jim Cook, MyPhotoApp Inventor
Created: October 25, 2015, 2:00 pm UTC Last updated: June 7, 2020, 1:36 pm UTC
MyPhotoApp optimizes on creating fast loading apps, but sometimes the image quality is not sharp or rich in color as desired. When uploading images to optimize on image quality, here are some things you should do and check.
When saving images in Photoshop its important to make sure they are correctly optimized for the internet:
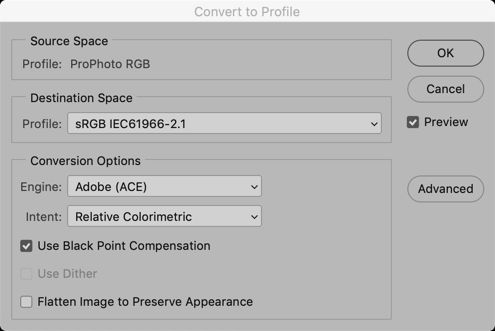
1. Make sure that the color profile for your image is SRGB, saving in pro photo RGB or any other larger colour space will result in desaturated colors when uploaded to the internet or social media and is one of the most common errors encountered.
To check your working color profile go to Edit > Color Settings. I usually like to work in a larger color space such as ProPhoto RGB or Adobe RGB (1998). When I have finished editing I will save my PSD file and then flatten the image, resize or crop and finally convert the profile to SRGB, Edit > Convert to profile, before saving as a jpeg ready to upload.
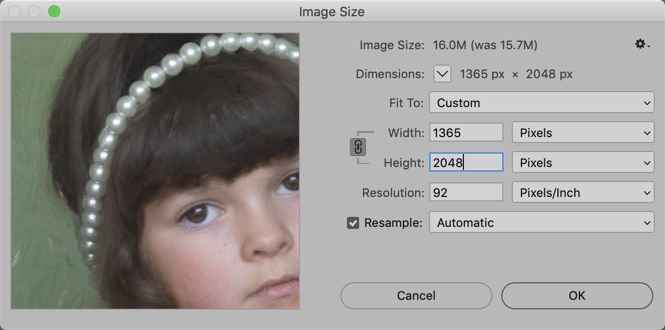
2. Save your Jpegs at the intended upload size by cropping or resizing them first. The pixel dimension on the long side is what matters most with a resolution of 72-92 is ideal for on screen viewing
MyPhotoApp currently supports a maximum image size of 2048px on the long side. If the images you upload are greater than the maximum upload size MyPhotoApp will need to reprocess your images on upload and you may occasionally notice a loss of quality due to further compression.
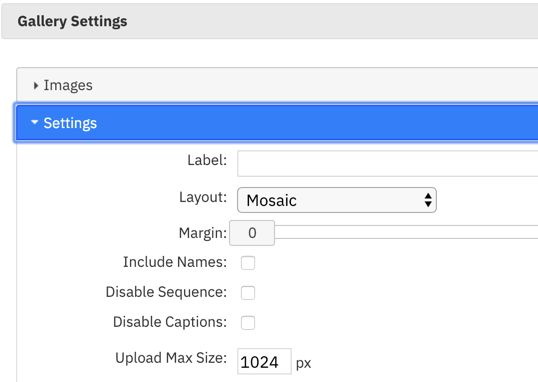
If you are uploading images to a Gallery section the default maximum upload size is set as 1024px which is an optimum size for fast Apps. If you wish to upload images 1024-2048px in size to get maximum quality for larger screen devices you will need to change the Upload Max Size setting before you upload the images by clicking on gallery settings and then the settings tab. If you regularly upload images larger than 1024px its a good idea to update the default template, or any other template you use, with your updated gallery section.
When uploading images to any other section save them as either 1024px or less on the long side, or if you are optimizing for a tablet, save then at 2048px on the long side and MyPhotoApp will upload them at the saved size.
If you are exporting your images from Lightroom you need ensure your export settings are also correct. You can create a user defined preset for exporting web image to make this a fast and easy process in the future in just a few easy steps:
1. Select the images you wish to export ready for web
2. In develop mode click on export button or File > Export
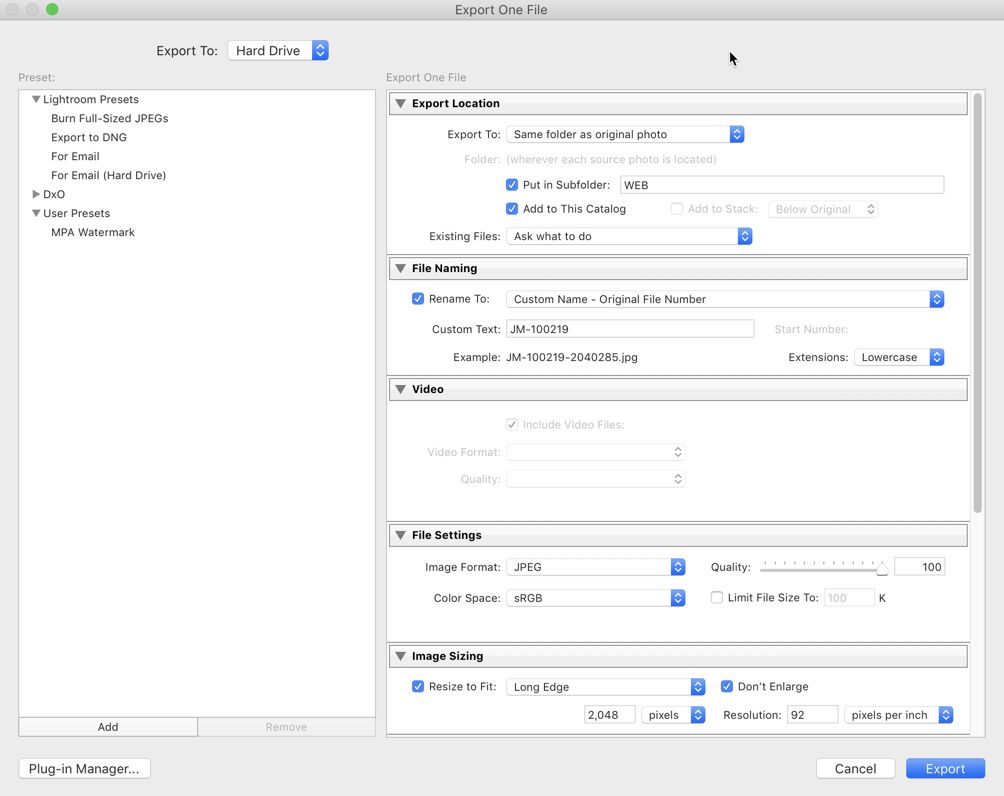
3. Choose the Export Settings you want making sure that the following are selected:
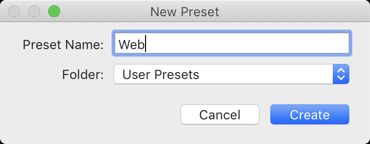
- Under File Settings select Image Format > Jpeg and Color Space > sRGB - Under Image Size Tick the Resize to fit boxand choose Long Edge form the drop down list and tick the don't enlarge box and enter the pixel dimension up to 2048px and choose the resolution. 4. Click on the Add button in the lower left hand corner and type in a suitable name for your custom export preset.
Next time you want to export images simply choose your new preset, Web, from the user preset list make any changes to file name prefix and you are good to go.