 |
Need a knowledge base like this for your business?
Custom Sections
| By Kim Dixon, MyPhotoApp Training Guru Created: February 21, 2015, 2:27 pm UTC Last updated: December 7, 2018, 6:16 pm UTC |
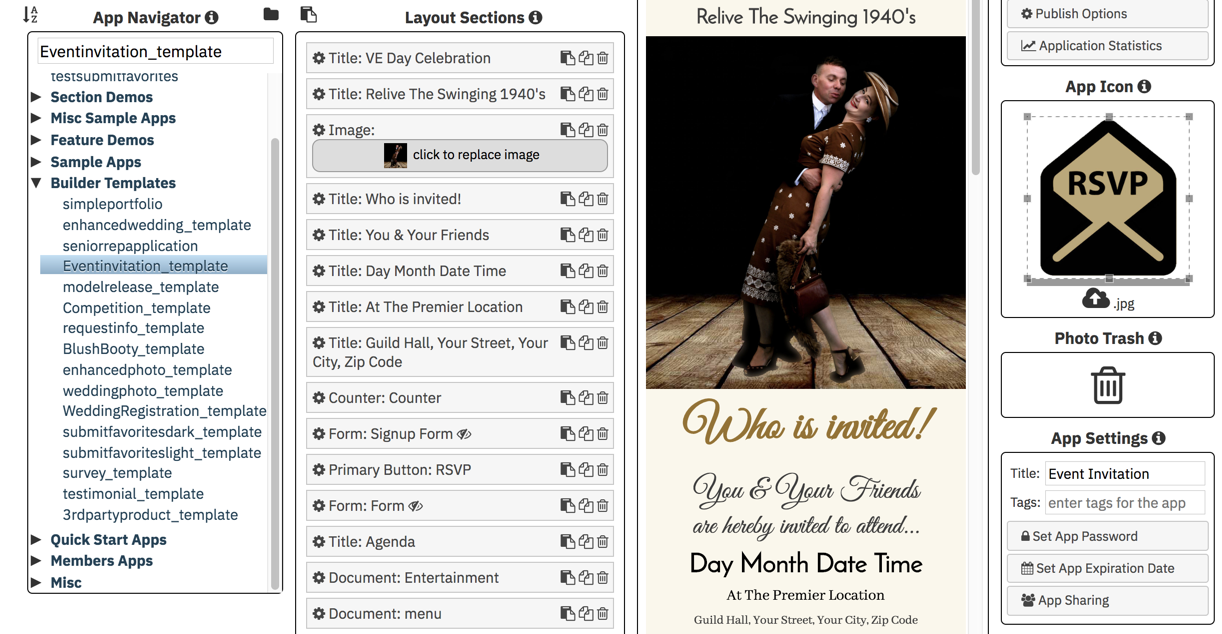
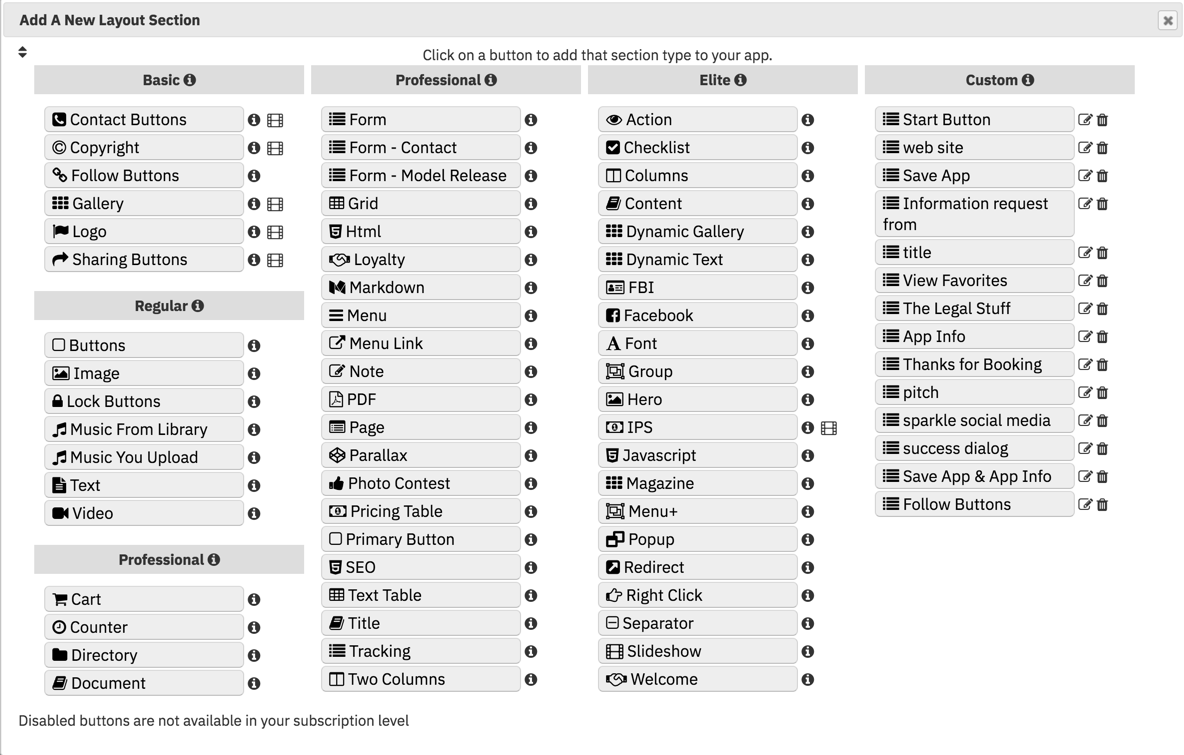
Save time by with Custom Sections. After you have customised a section to just how you want it you can save it as a custom section so you can reuse it in other apps. When you click the Add section button it will then appear on the right hand side of the Add A New Layout Section List under Custom like this: You can click on the edit icon to rename a custom section or the trash can to delete a custom section you no longer need.
To save a section as a Custom Section:
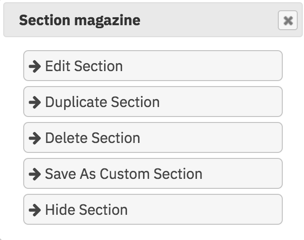
In the Layout Sections column Right click on the section you want to save to open the context menu.
Click on Save As Custom Section
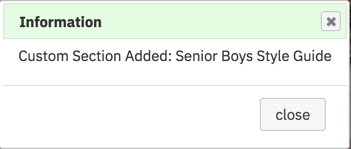
Enter a unique name to easily identify it and click SAVE.

In future when you click on Add Section your new Custom Section will appear under Custom for you to select.
Custom Sections Are brand specific and only appear in the brad they were created in.
NOTE: You can save any section as a custom section with the exception of the content section, because of the way they are created and used.
Custom sections will soon become a sunset feature and no longer be available as there are now better ways to accomplish the same function:
NOTE: You can save any section as a custom section with the exception of the content section, because of the way they are created and used.
Custom sections will soon become a sunset feature and no longer be available as there are now better ways to accomplish the same function:
Create A Master App
One of the best ways to save your custom section for quick and easy reuse is to create a Master App and add any sections you have customised and want to have easy access to by using the clipboard function to copy the sections and paste them into it.
When you want to add one of your Custom Sections to an App simply go to your Master App and and click on the Copy section to clipboard Icon on the section you want to use then choose the app you want to add it to in the app navigator and click on the Add section from clipboard icon to the left of the Layout Sections heading to add your Custom Section.
Create an App Template
If you regularly use multiple custom sections as your starting point for new apps, for example the basic layout for a client app or style guide, then its a good idea to create a template for the basic starting app.
To do so simple create your Skeleton App with the custom section you want as your starting point and then click on Save as Template and under New template add a name for your new template and click Save.
Your new template will now appear under the default MyPhotoApp templates in the Create New template menu when you click on the Create App Button like this:
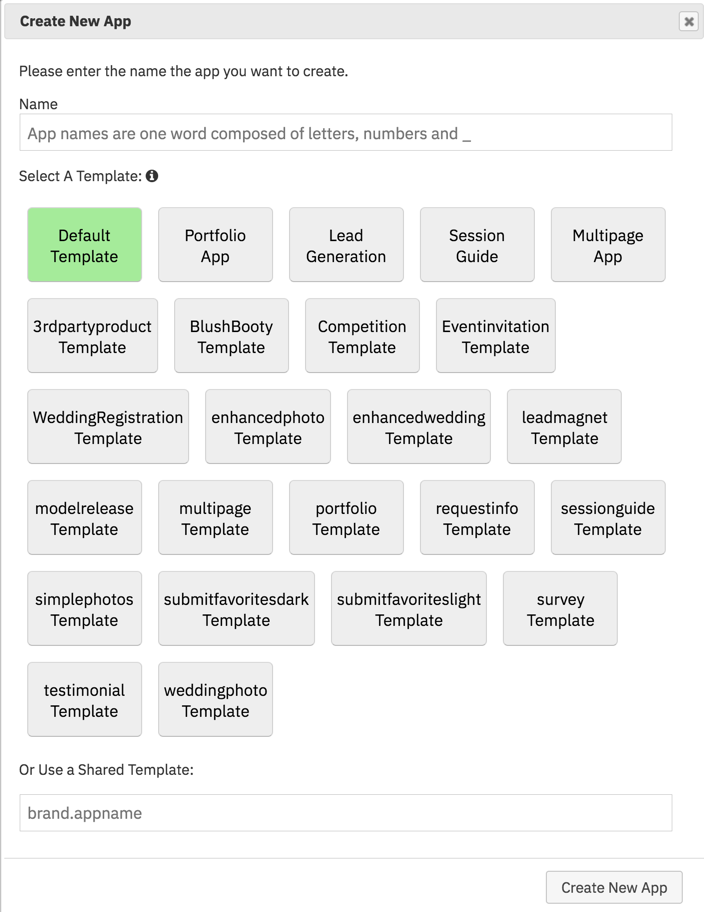
To keep the App navigator Area tidy it's a good idea to create a template folder to add your templates like the example below. if you want you can delete the original app you created or simple rename and use it next time yo want an app using this layout.
