Need a knowledge base like this for your business?
Contact Buttons Section
By Kim Dixon, MyPhotoApp Training Guru
Created: November 11, 2017, 7:06 pm UTC Last updated: February 10, 2019, 5:07 pm UTC
How To Customize The Button Section
The default MPA template includes a Contact Button section with the three most popular contact buttons, one to contact you via email, one to contact you by phone and another to contact you by SMS text. You should have already added your contact information when you first set up your brand and every time you create a new app this will be automatically added to the contact buttons so they are ready to go.
You can update this at any time by clicking on the Quick Set Up Icon and saving the changes, which will then apply to the current and all NEW apps you create. Alternatively, you can change the contact details for an individual App in the Contact Buttons settings in a few easy steps:
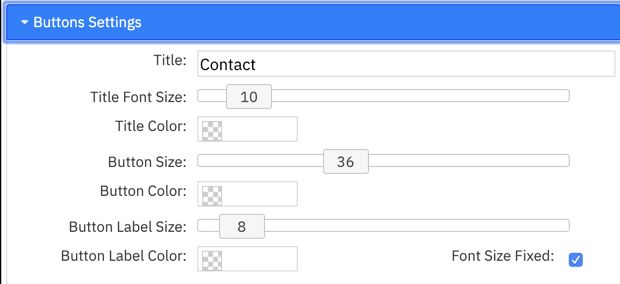
1. In the layout sections area, click on the settings cog next to Contact buttons section to open the button settings menu. The button settings tab allows you to add a section title and color, and set a custom color for it, change the Button size and set an overall custom color for all the buttons in this section. You can also set the button label size and colour here. Ticking the fixed font size will allow the app to choose the best size for the device the app is viewed on.
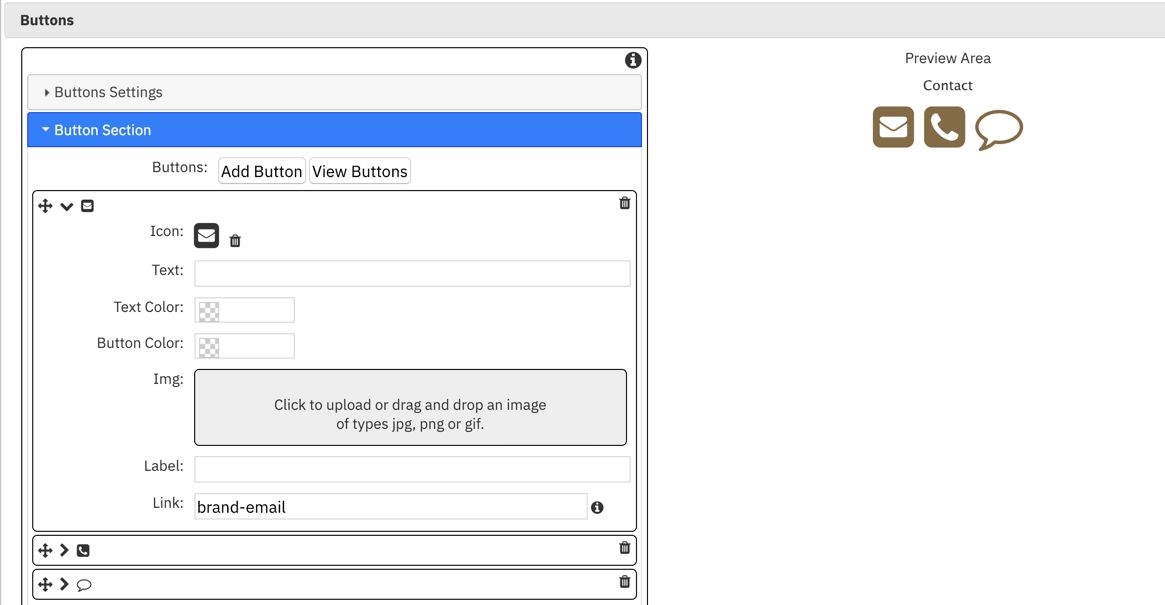
2. The Button Section tab is where you can customize the individual buttons. Click on the Contact button you want to update to open the individual edit button menu. By default contact buttons already have the brand-xxxx syntax which automatically add the contact information from the brand quick setup and use the brand color scheme. You can choose a different icon, add text to change it to a text button, upload a custom image, set a custom color or enter alternative contact details you want to use for this particular App instead of the brand specific ones.
Click the 'i' to view the KB article on various link types here are the most popular ones:
Email: email:xxxx@xxxx Replace x's with the email you want to use
Phone: tel:xxx-xxx-xxx Replace x's with the phone number
SMS Text message: sms:xxx-xxx-xxxx Replace x's with the mobile number
It's also easy to add additional buttons to your App for other means of contact, for example, a button so people can call you on your mobile phone or message you via facebook using the relevant syntax and account ID to do so:
This is also where you can delete a button you don't want to be available in this app by clicking the Trash can.
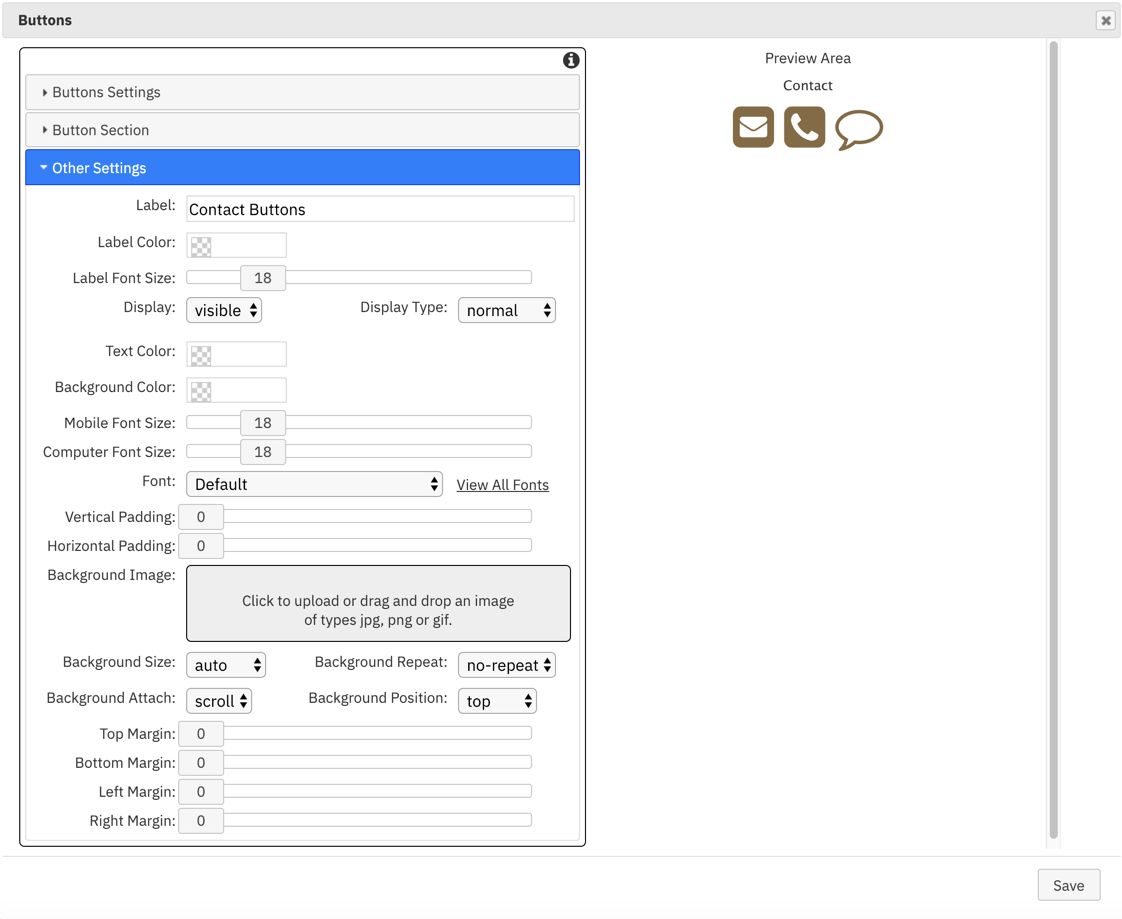
3. Click other Settings to make any additional changes you want.
4. Click Save to return to the builder.
Adding A New Custom Button To The Contact Button Section
Here is how to add another button:
1. Open the Button Settings and then click on the Buttons Tab.
2. Click on add button, a new button will be added at the bottom of the button list. click on the new button to open the settings. the first thing to do is choose an Icon for the button by clicking the icon. There are over 500 button icons to choose from. You can type in a keyword in the filter box to search for the icon you are looking for to see if it is included or scroll through and choose an icon for your button. Let's add a mobile phone button, searching for 'phone' should bring up some suitable choices. When you have found the icon you want, just click on it to return to the button settings menu.
3. Click in the Link field and enter the syntax for the new contact you are adding, in this case, a button to call a mobile phone so the syntax is tel:xxx xxxx xxxx where the x's are the mobile phone number you want them to call.
4. Make any other changes you want and then click save in the lower right to save your button changes.
5. You can change the order of buttons using drag and drop, it's best to close the individual button menus first and then click on the 4-way arrow for the button you want to move and drag it up or down to rearrange the order. Buttons are displayed from the top down, left to right.
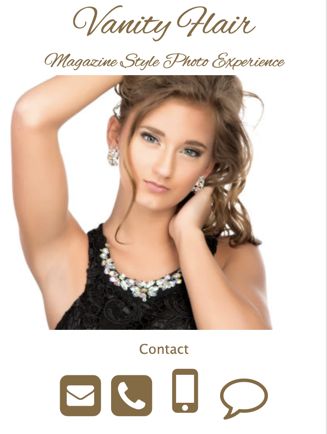
6. Click Save to close the button settings and return to the builder and you should see your new button in the visual design.
7. Next, publish your App and test out your new buttons.
Here is the syntax for another button option you might like to add:
NOTE:SMS text buttons will not work on a computer so you will need to check out the App on a mobile device.
Save Your New Contact Button Section
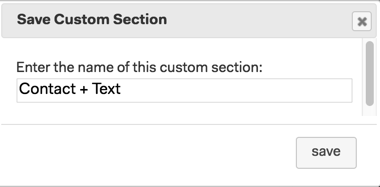
If you want to save your updated contact button section to use in selected Apps in the future right click on the updated Contact Button section and choose Save As Custom Section, enter a name for the custom section and click Save. Your new custom section will now appear in the add section menu next time you open it ready for you to add to any App you want.
If you want the newly updated button section to be included in all of your future apps, you will need to update your current default template. Click on the save as template icon and choose Save As Default template and the builder will use the current Apps layout for all future apps.
TIP: If your current app isn't one you want to use as a default layout just create a new app using the default template, delete the contact buttons section and copy the updated contact button section from this app to the new app and save this one as the default template.