Need a knowledge base like this for your business?
How To Turn Album Spreads Into Gallery Images
By Kim Dixon, MyPhotoApp Training Guru
Created: July 7, 2018, 2:46 am UTC Last updated: February 16, 2019, 8:47 pm UTC
Gary Box - Box Portraits - has kindly shared his PS action for turning PS album pages into smaller JPGs ready to upload to MyPhotoApp.
Providing a companion Album app is a great way to add value to your album sales. Knowing they will get "a digital version of their album in an app that they can easily share" is a great incentive for clients to buy a custom album.
Gary's custom albums are all ACI Rivelli books in 8x8, 10x10, or 12x12 and the action works on all of these sizes.
The action will quickly turn a double spread 8 x 16 inch PS document like the one below into a single Jpeg ready to drag into your gallery.
Once you have downloaded the action you will need to load it into PS and edit it to customize the text action so it adds your copyright details and not Box Portrait Gallery's before you can use it.
Start by opening an image file in PS
Click on Window > Action to open the Action panel
Click on the menu Icon in the top right and choose load actions and browse to where you saved Gary's action, select it and click Open.
The new Action Set - App Copy will be added to the Action panel click the chevron arrow to expand the action and reveal the individual actions within it.
To change the text:
Double click on the make textlayeraction to Play & Record it a new type layer will be added to your image. The red record & the play buttons will both be lit at the bottom of the Action panel.
Zoom in if necessary to see the text which will be centered at the bottom of the image. Don't worry if it's pixelated it's only because you probably have a high res image open rather than a web-sized one!
The type tool should already be selected so click on the type after the copyright symbol and highlight all the type after it.
You can now type in your copyright information being careful not to move the type layer or change anything else.
When you have finished click on the stop recording button to update the action with your text.
TIP: if you want to go fancy you might want to record a new action to add a Png copyright watermark file instead and then turn of the make text layer action. remember to make it an appropriate size.
To Change the Export File Location
You will also need to edit the Export step to save the files where you want, the default is to save them loose on the desktop.
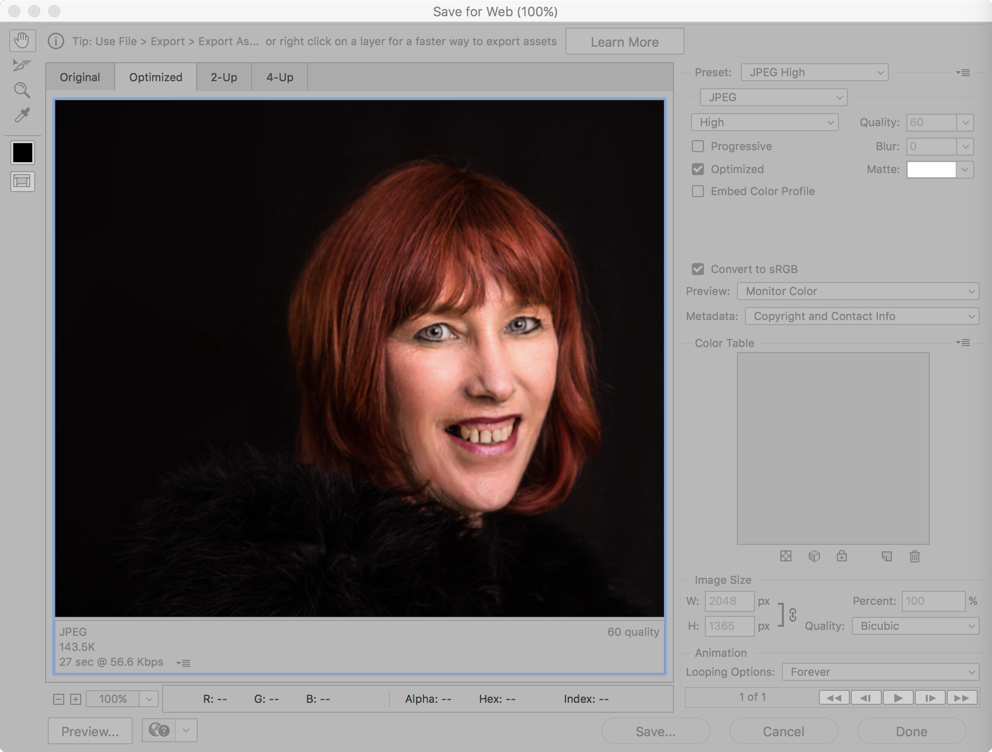
Double click the export action to launch the save for web dialog box
Click on Save and choose a folder to save the export images to.
Tip: It's a good idea to create a new folder called something simple like App Images which you can then rename after the images have been batch processed by adding the client's name to it.
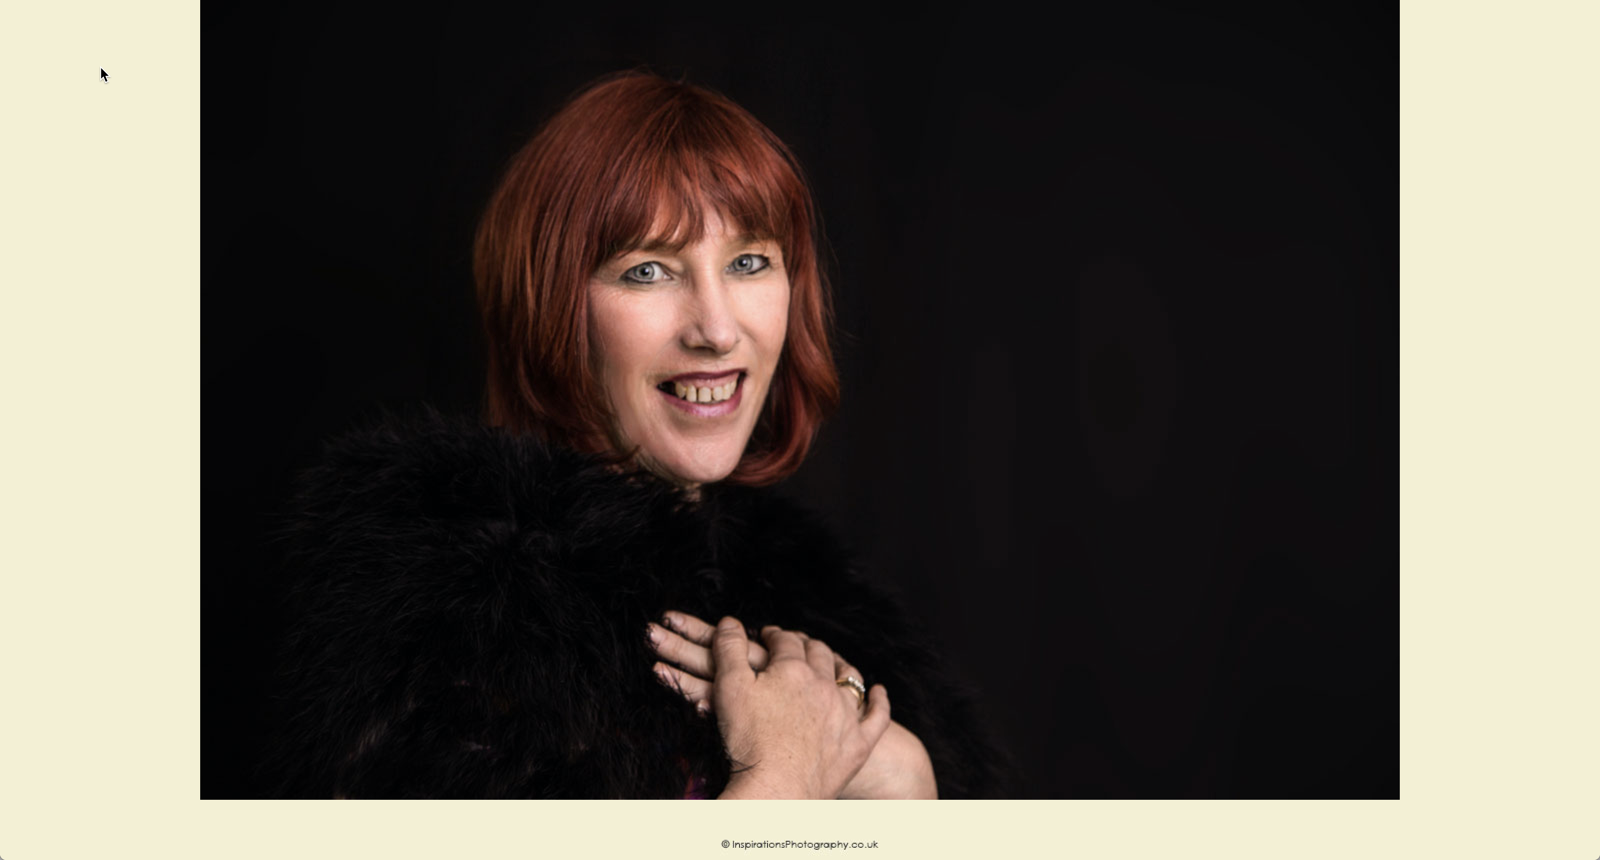
By default, the action resets the color swatches to the default white/black and then transposes them so the background is black and this is used for any canvas extension for a black canvas extension untick the transpose option and if you want to set a different background color for the canvas extension untick them both the reset swatches and transpose actions. In this example, I set the background color to cream before running the action.
Using The Action
Simply take the laid out page spreads and batch run this action on them. Browse to the folder you selected to find your image
Then drop them into a new app using a MyPhotoApp template that you have already created and it takes just a couple of minutes to customize your client's digital album.
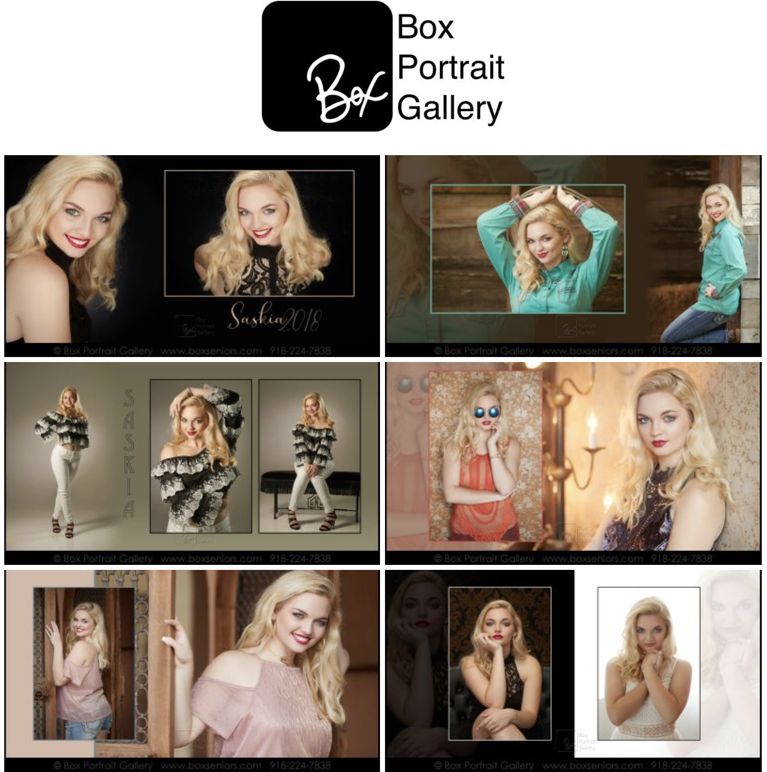
Here are some of Gary Box's album apps to wet your appetite